 Wiki
Complete the UNO Q first-time setup and record the IP address, username and Linux password needed for installation.
Before you start Prepare a computer, USB-C data cable and internet-connected Wi-Fi. Install Arduino App Lab and begin with UNO Q disconnected from the expansion board.
Connect the board and start setup
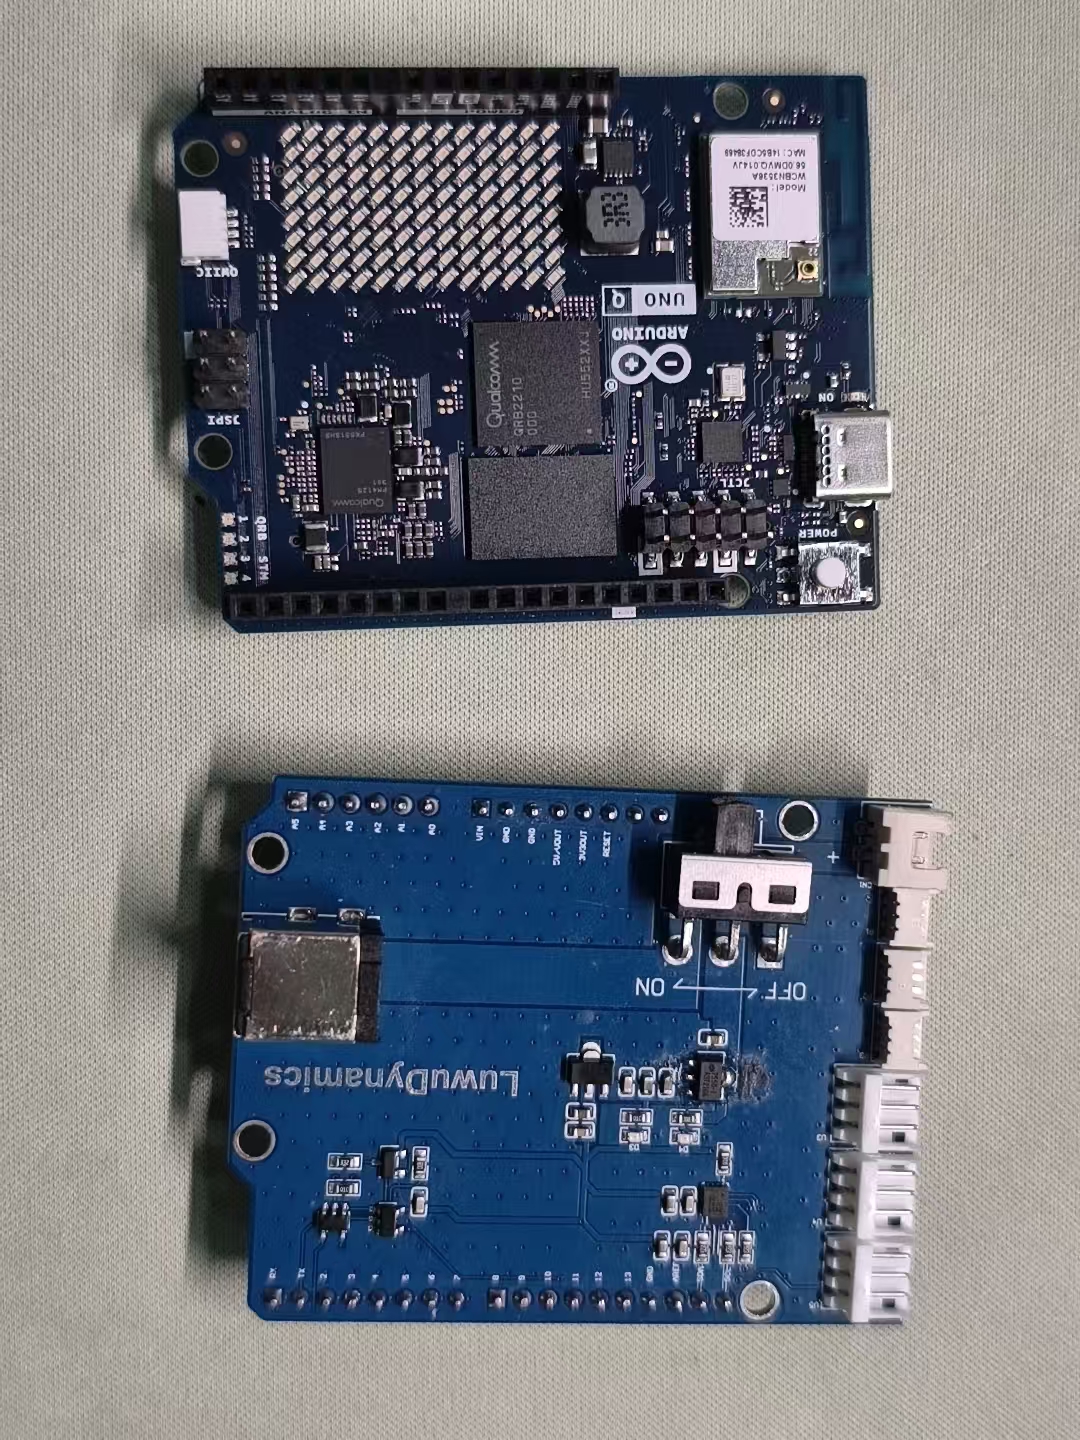
Connect UNO Q to the computer with the USB data cable and open App Lab. In the setup wizard, open Board configuration.
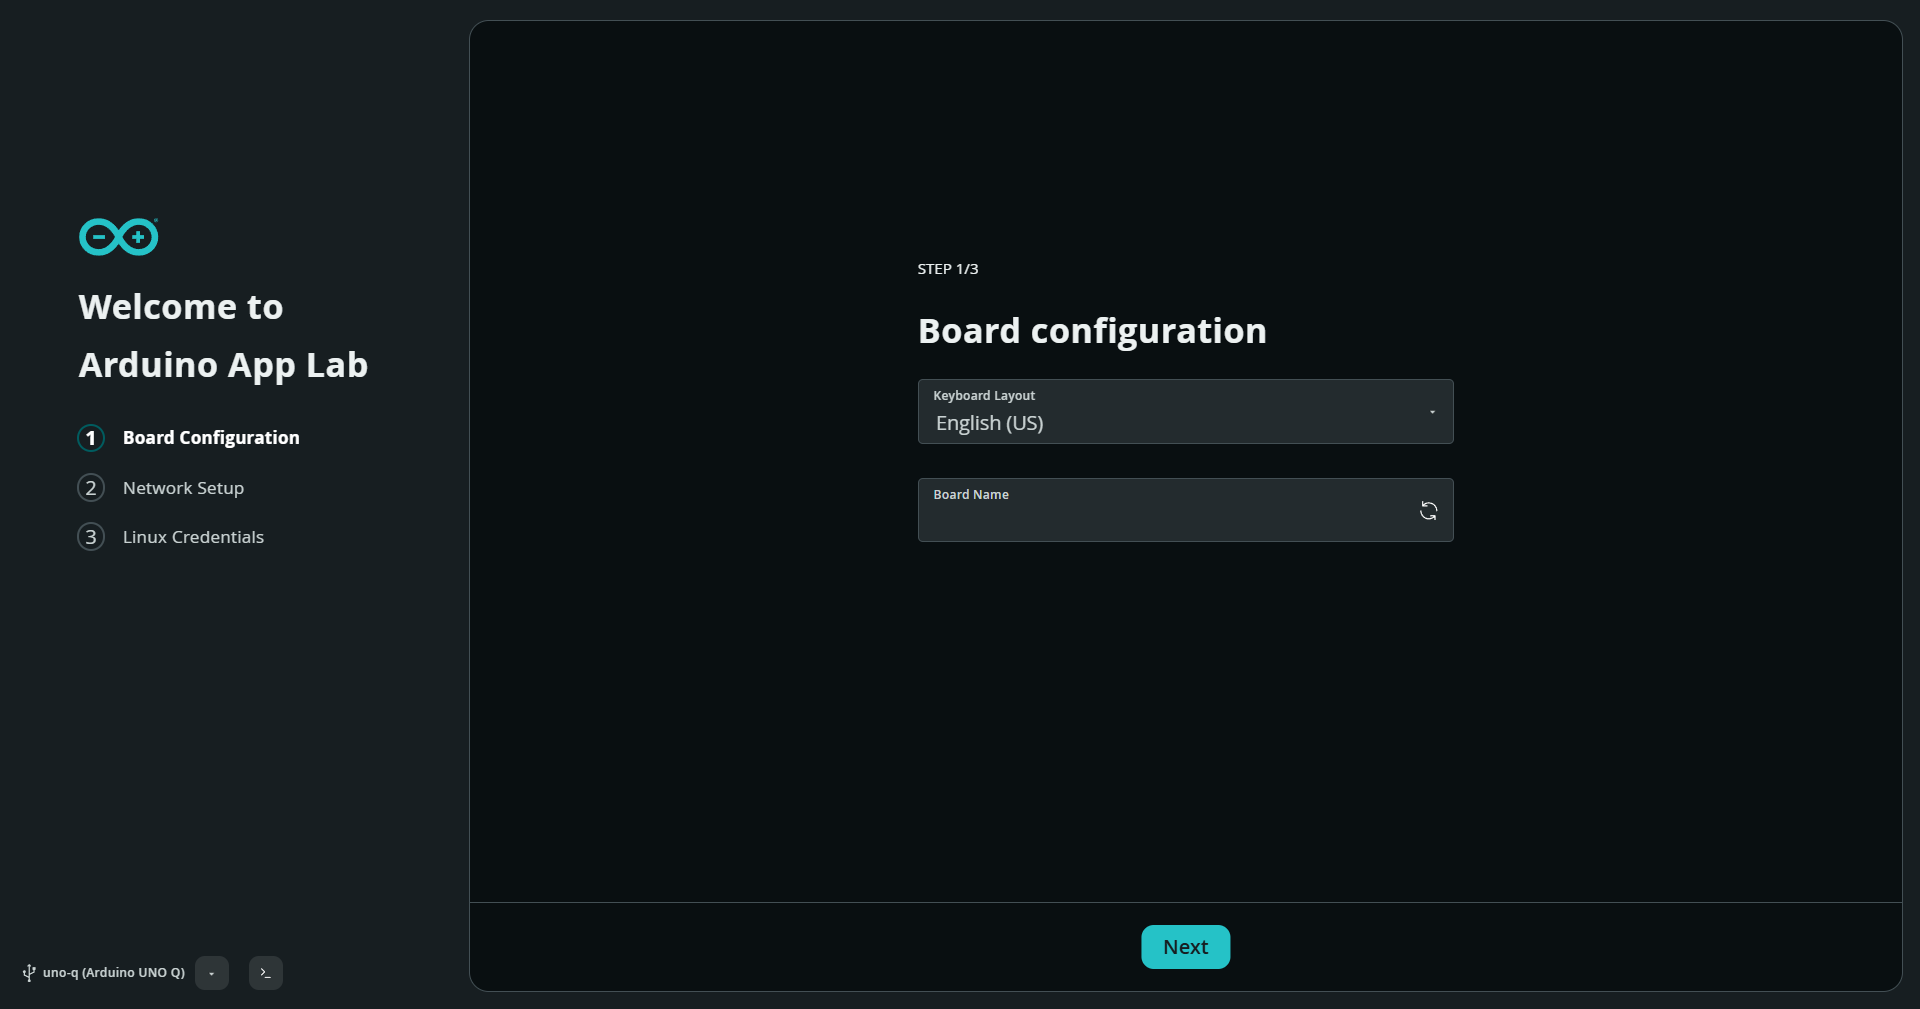
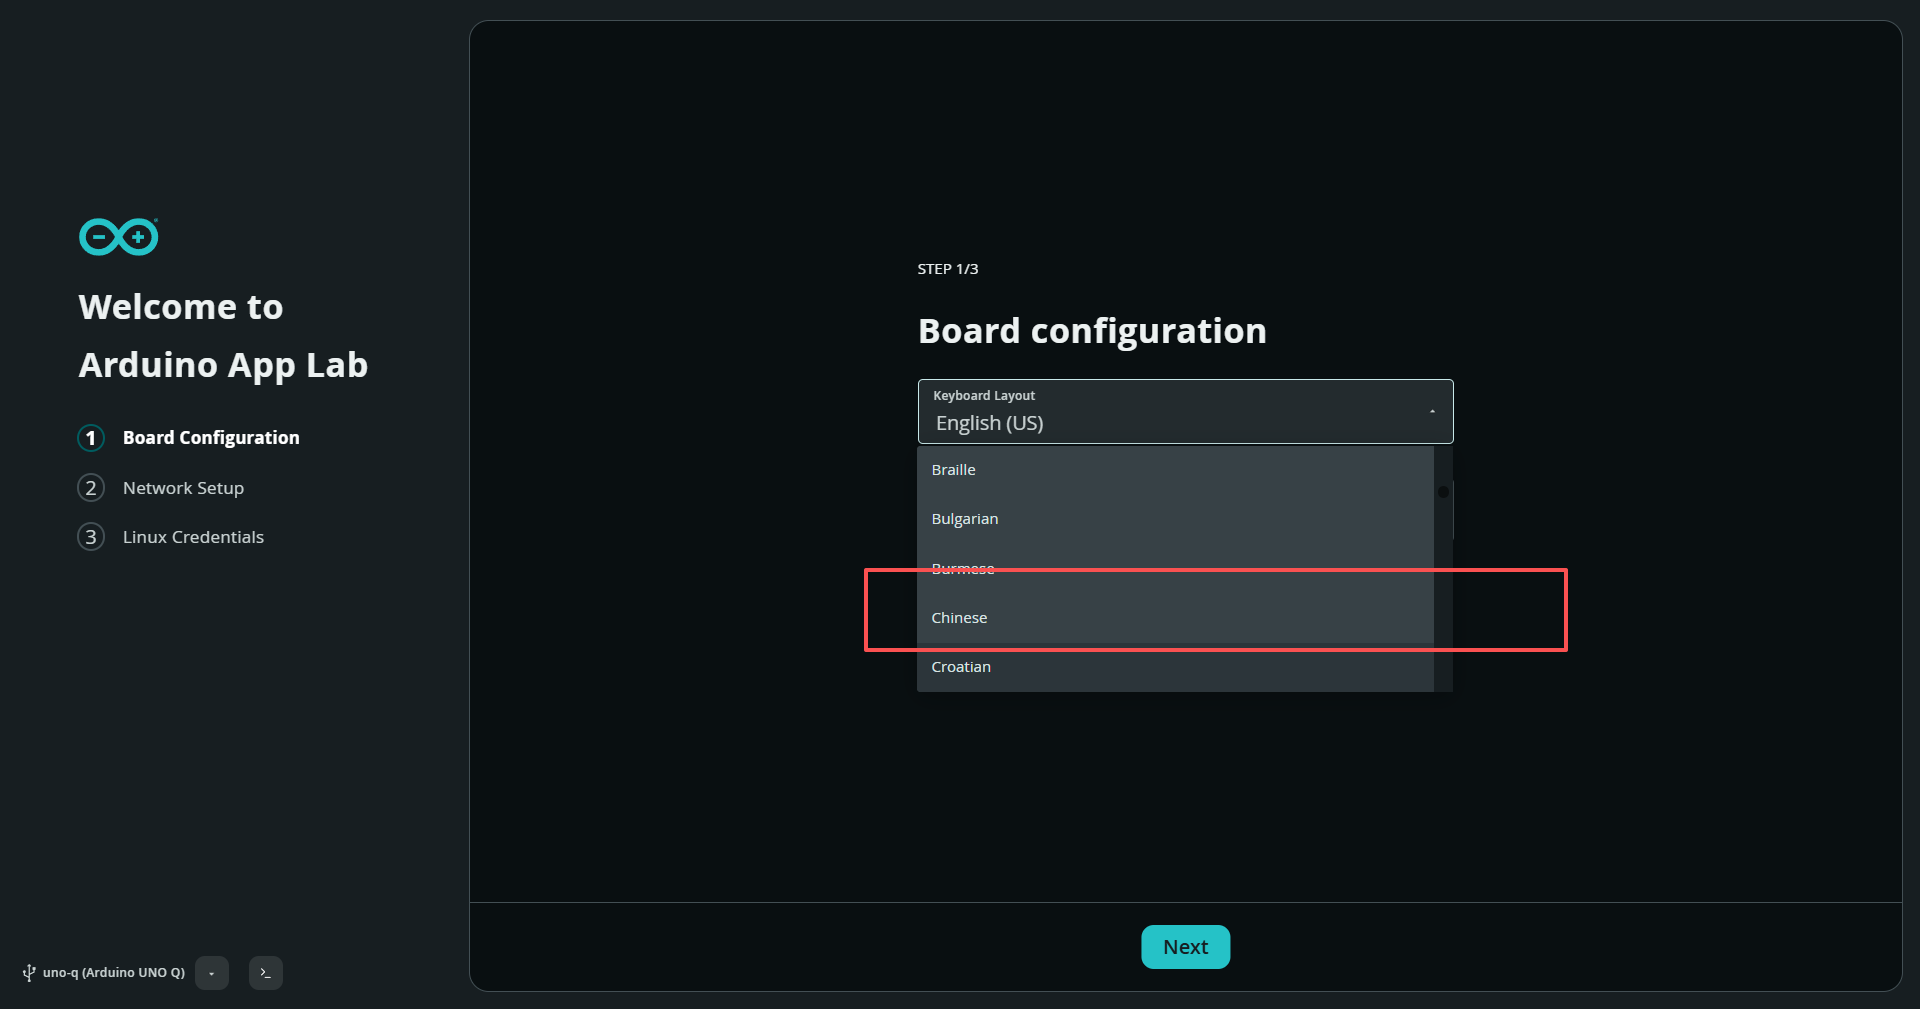
Choose a keyboard layout and board name
Choose the keyboard layout you actually use. The example screenshot selects Chinese; your choice may differ. Enter a recognizable board name, such as xgo-duck, and select Next.
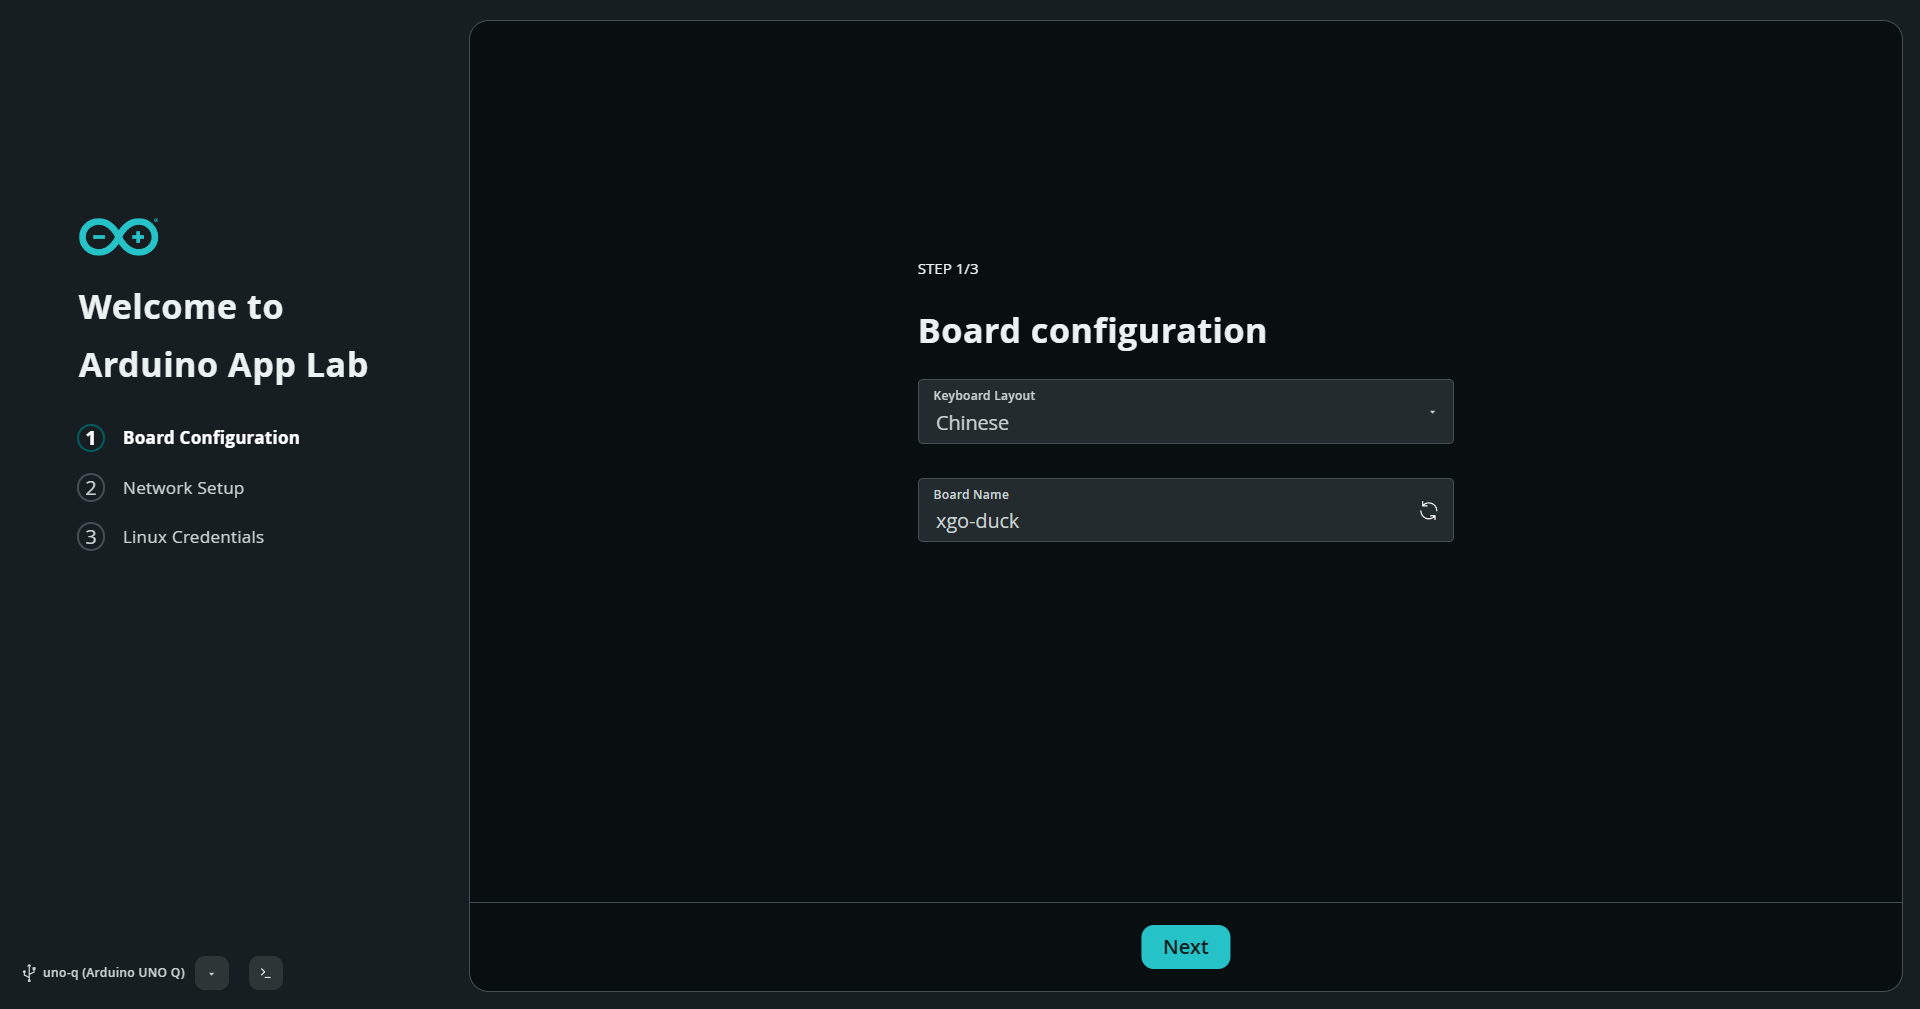
Connect to Wi-Fi
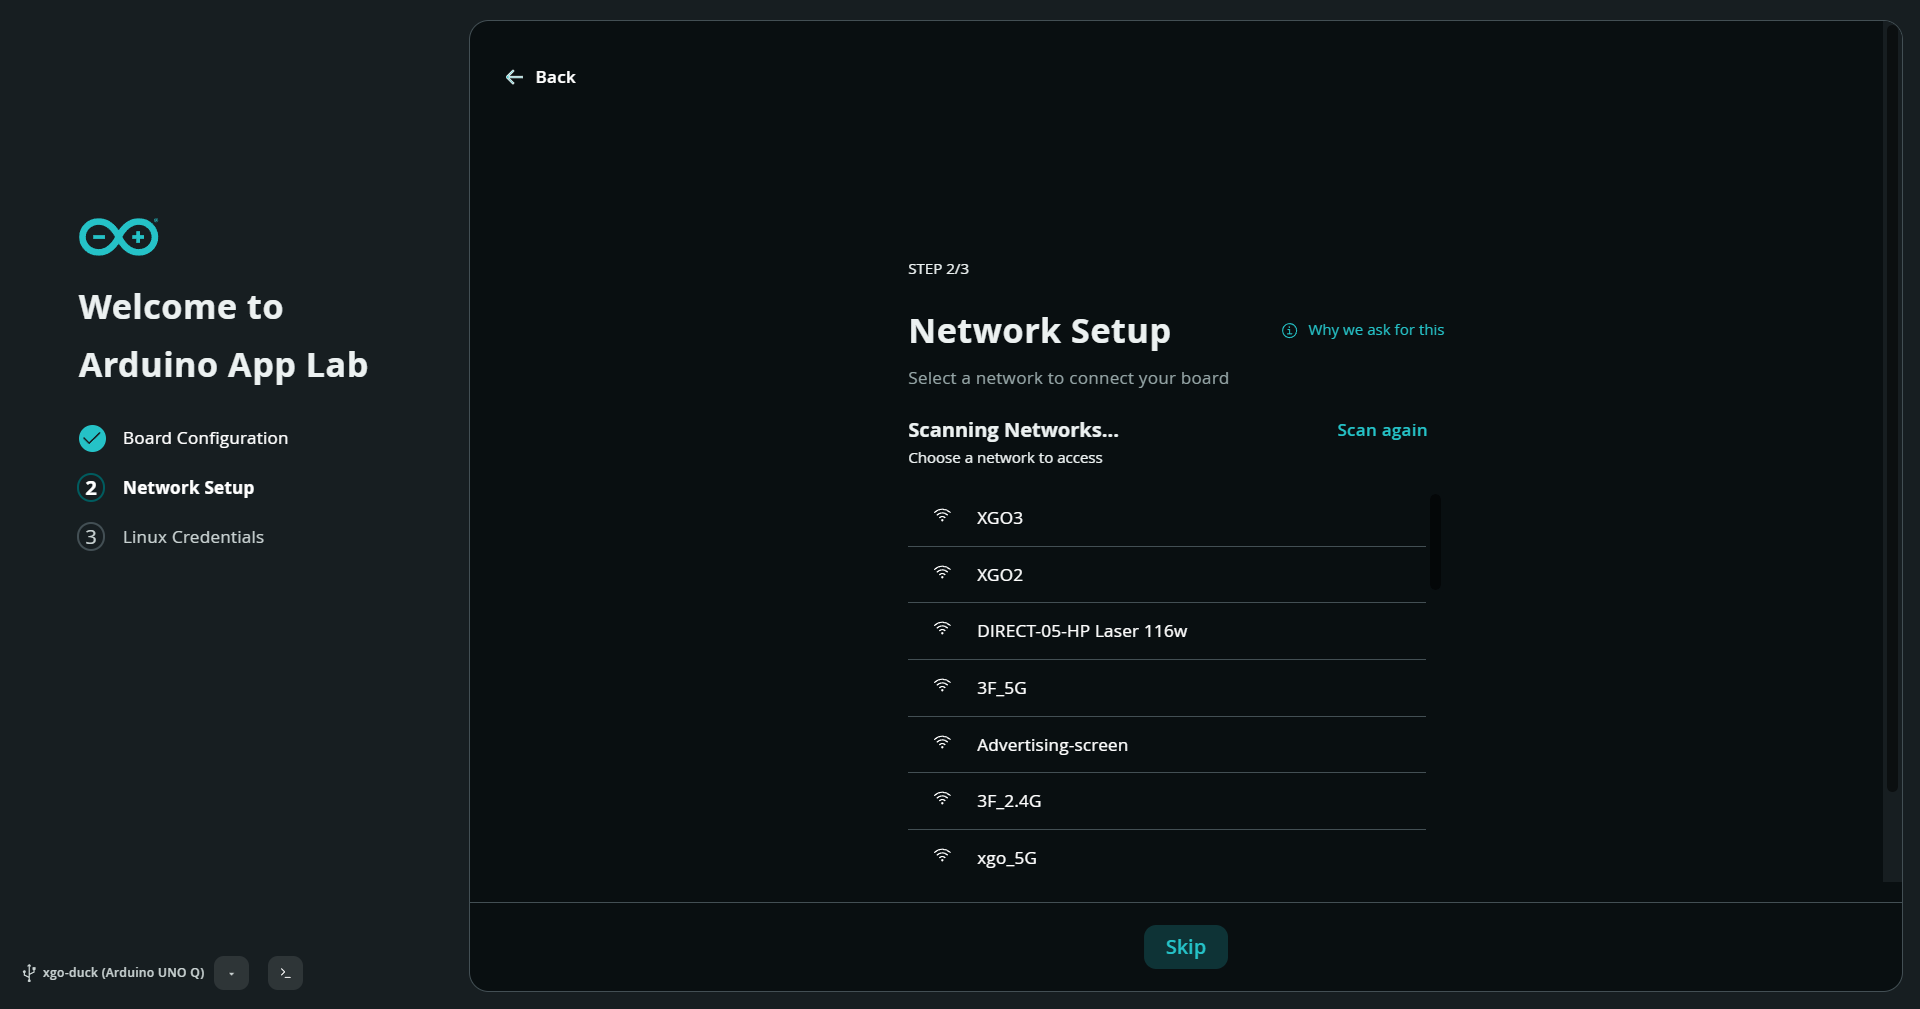
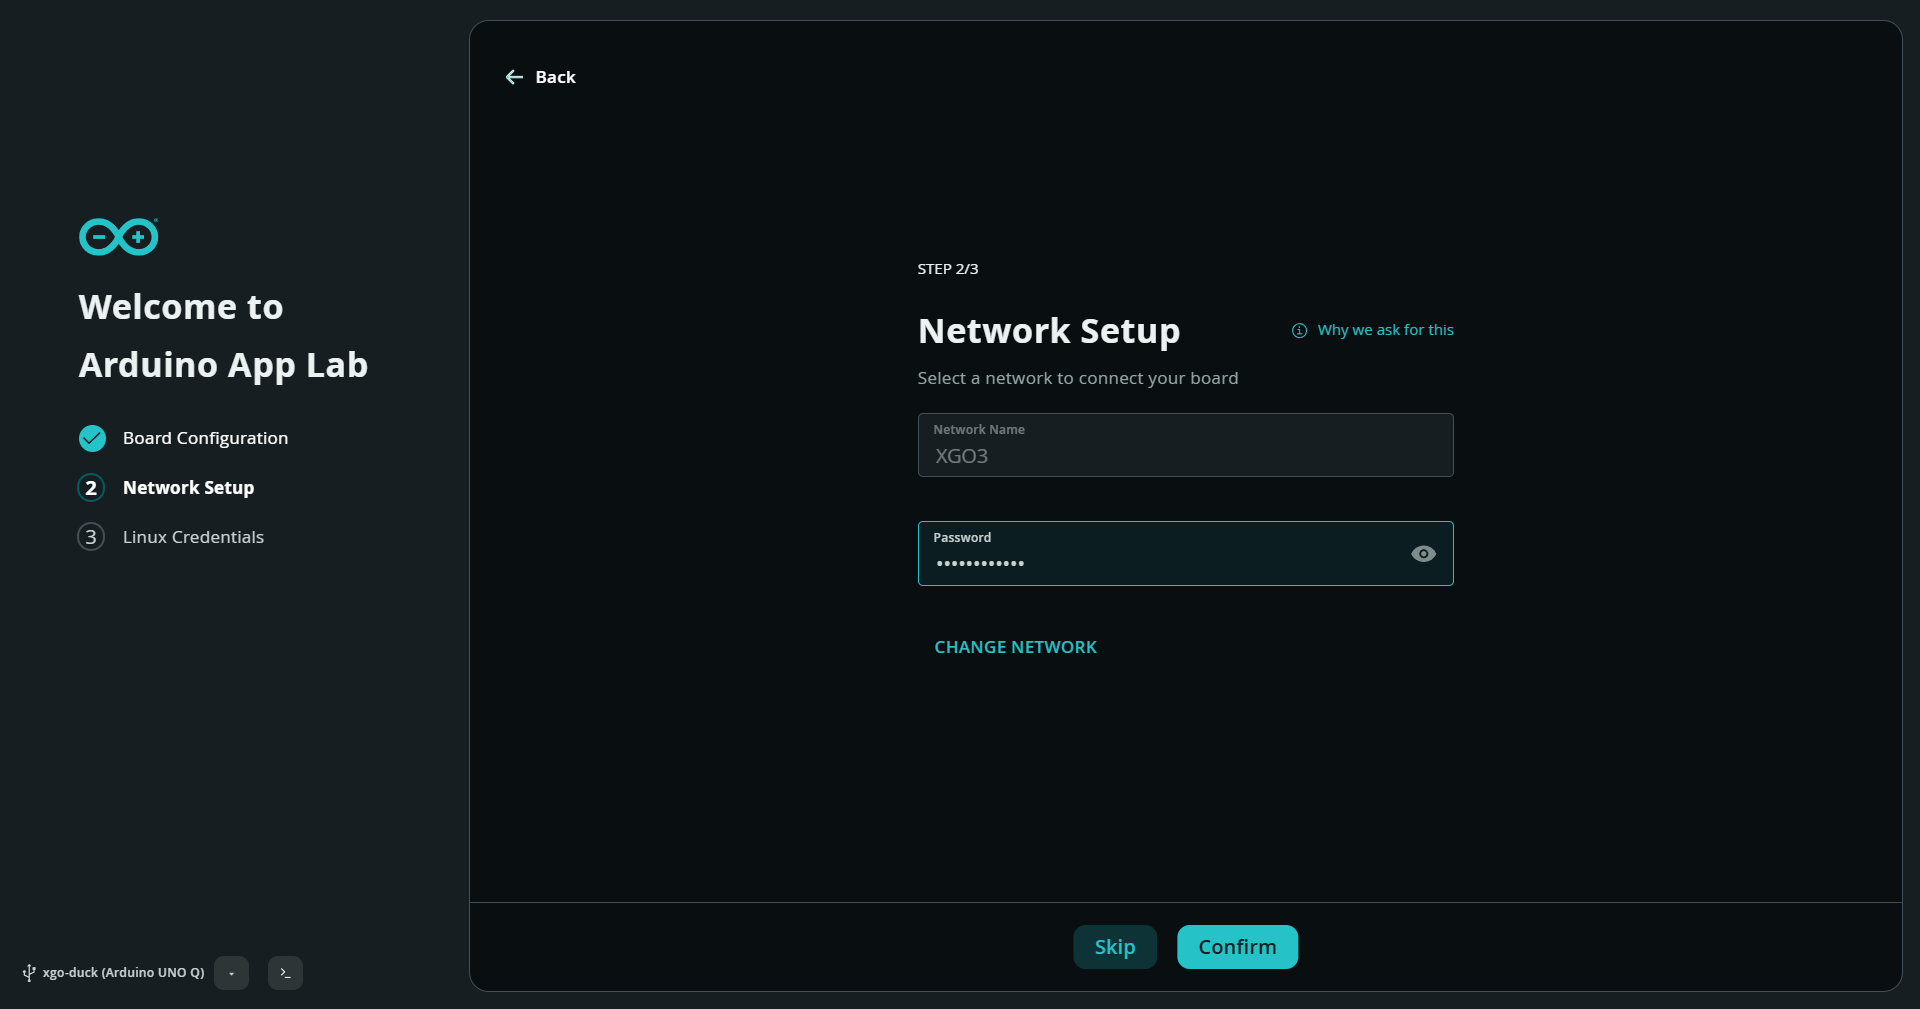
In Network Setup, select your own network, enter its password and select Confirm. The network name in the screenshots is only an example. Use CHANGE NETWORK if you selected the wrong one.
Set the Linux login password
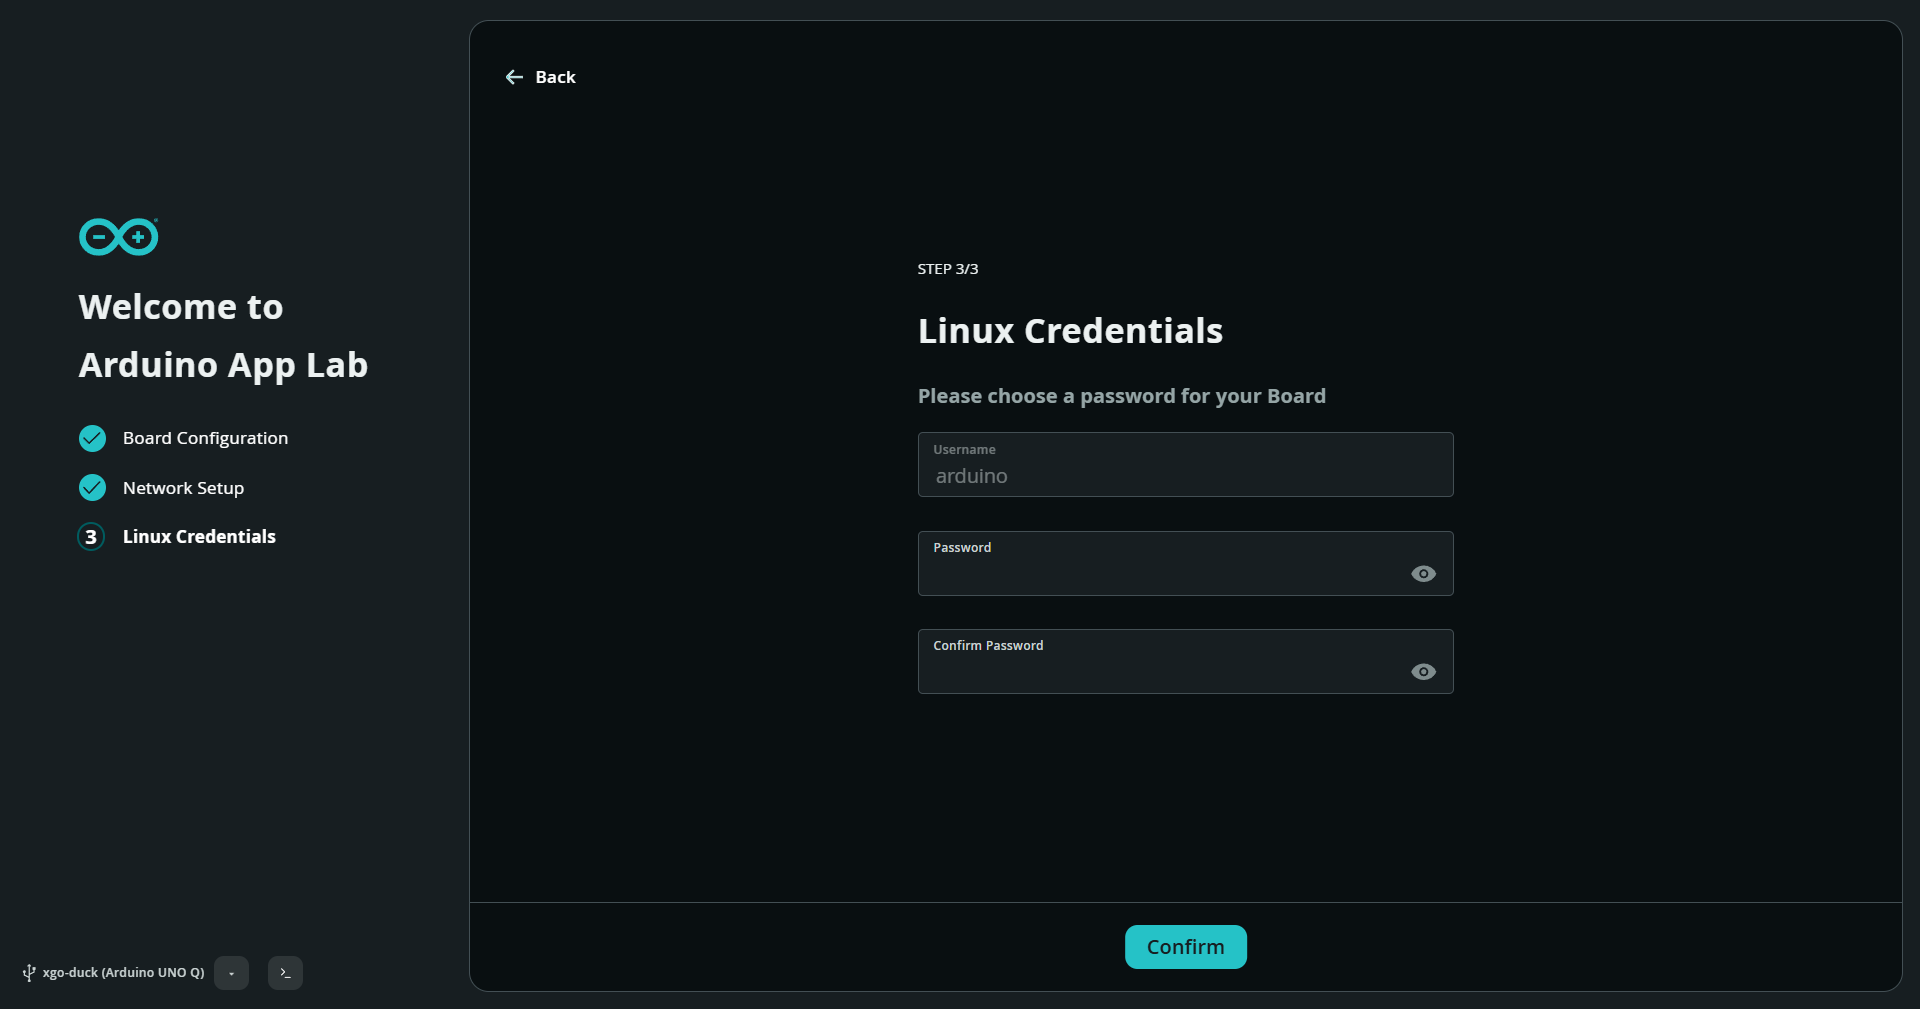
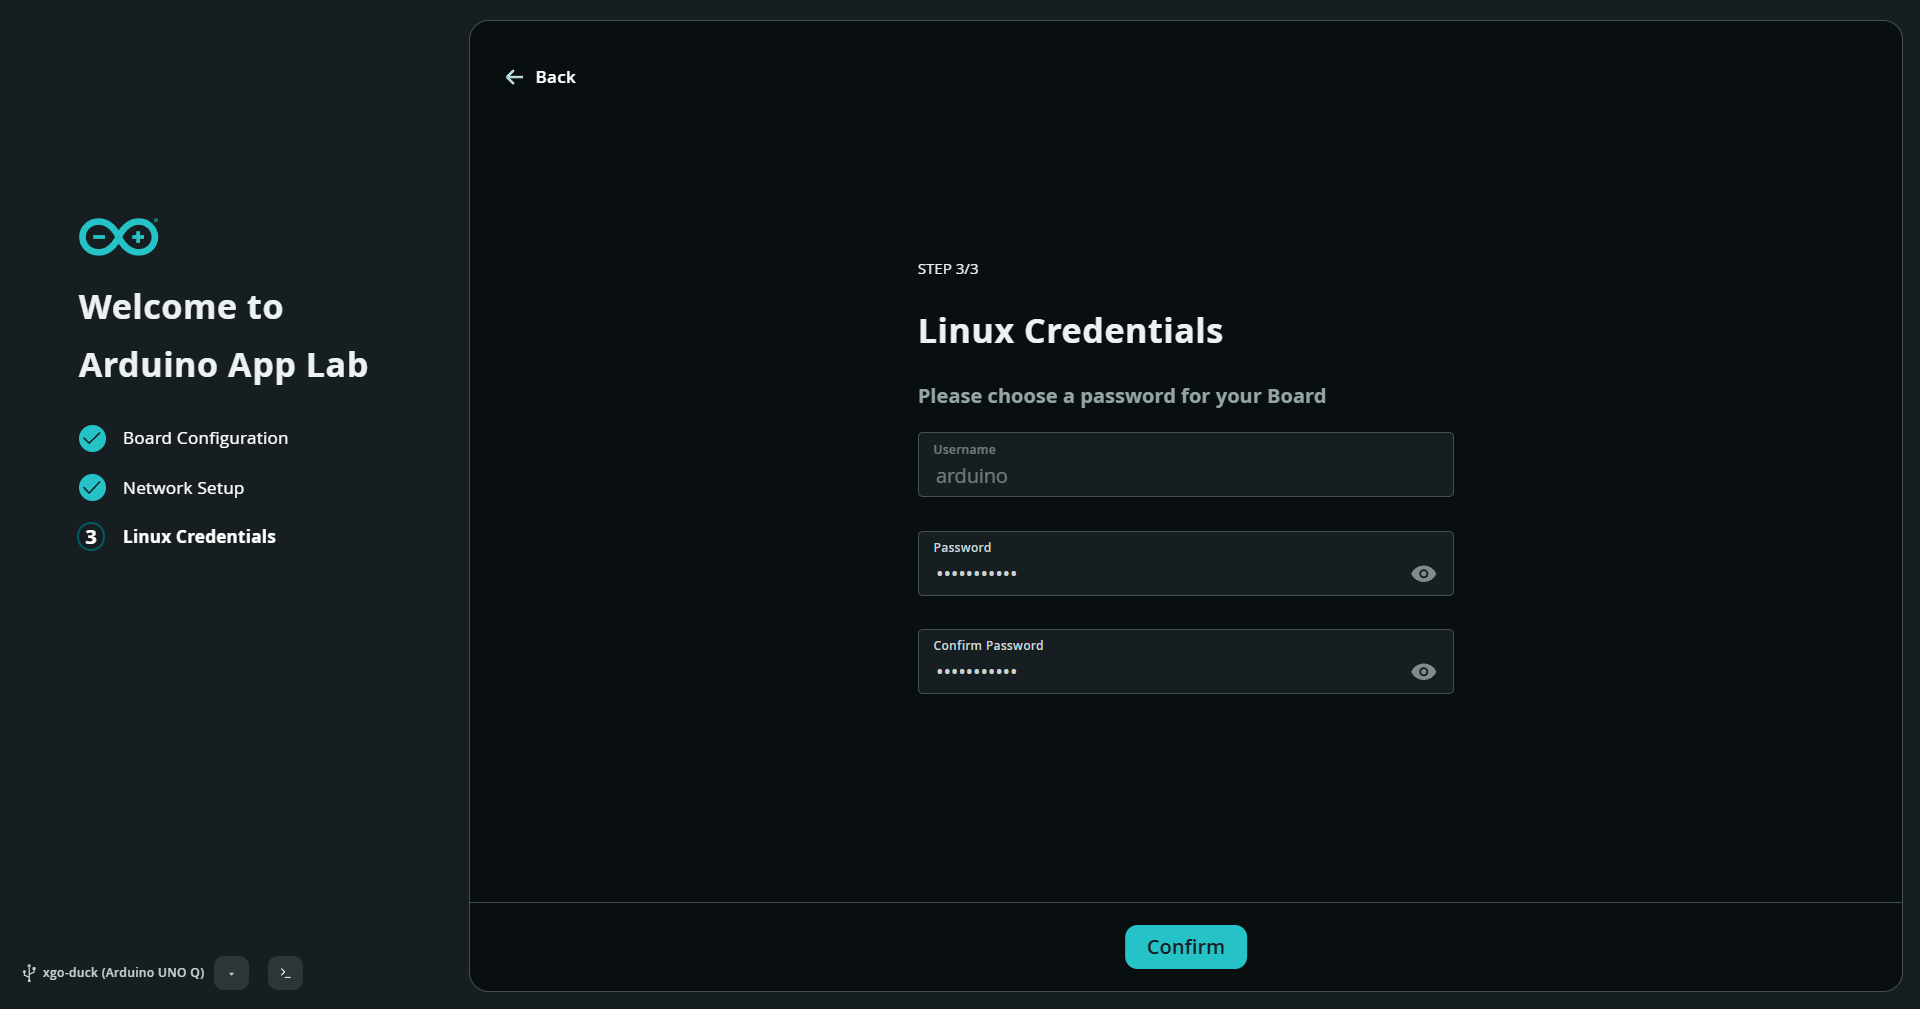
In Linux Credentials, the usual username is arduino. Set the board password, enter it again in Confirm Password and confirm. Keep it for SSH and sudo in step 3; the board login and Wi-Fi password are separate credentials.
Wait for board updates
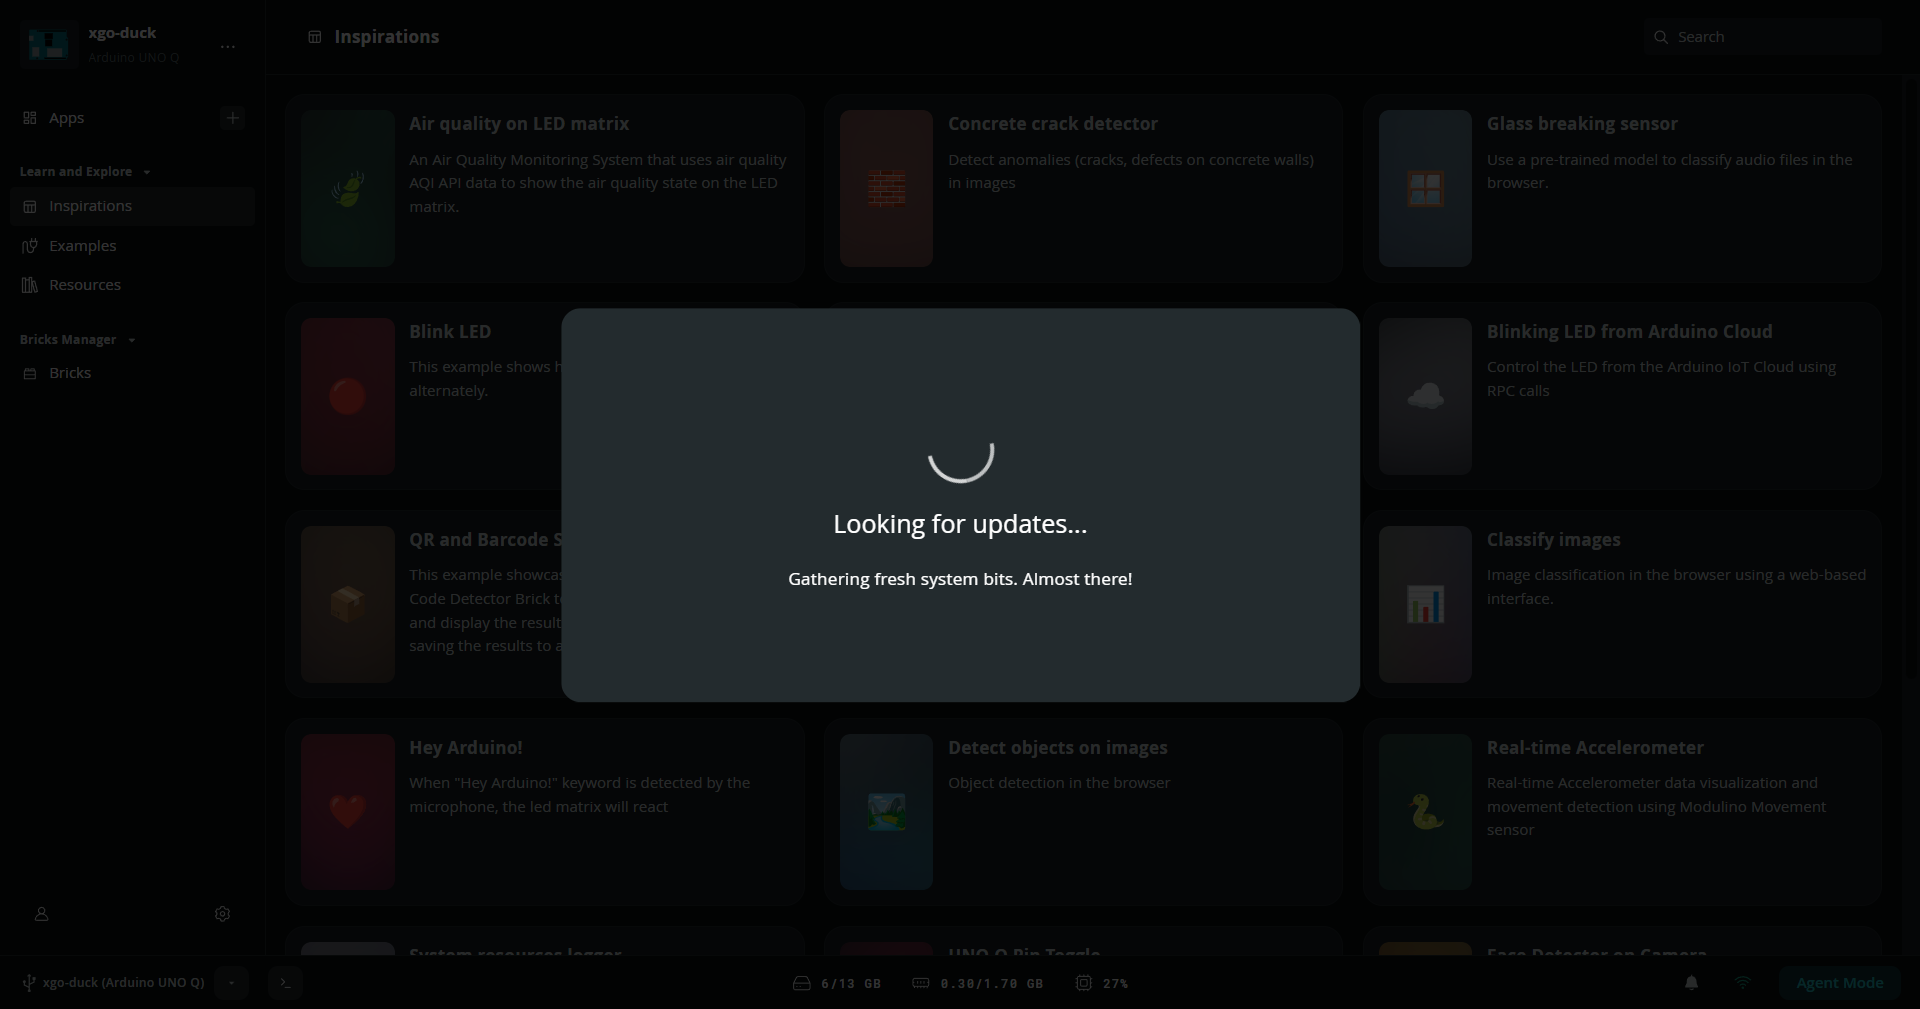
Wait while App Lab checks for updates.
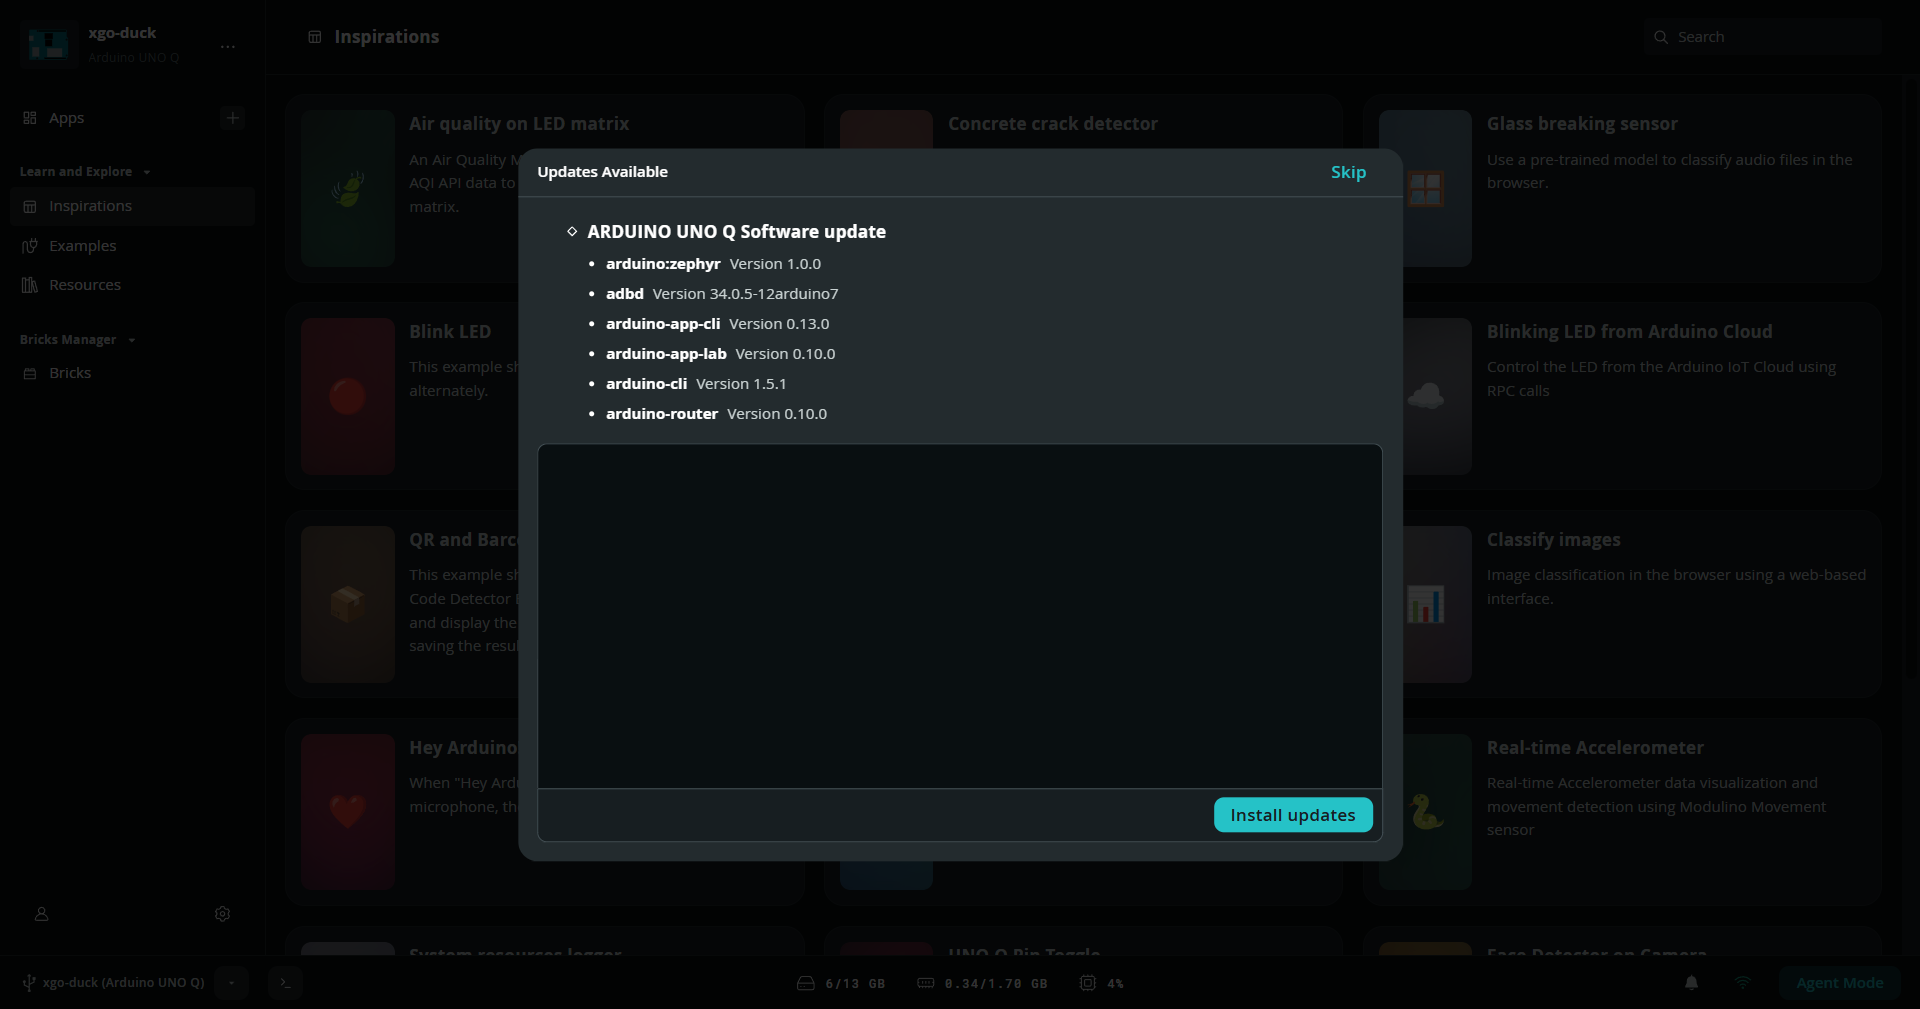
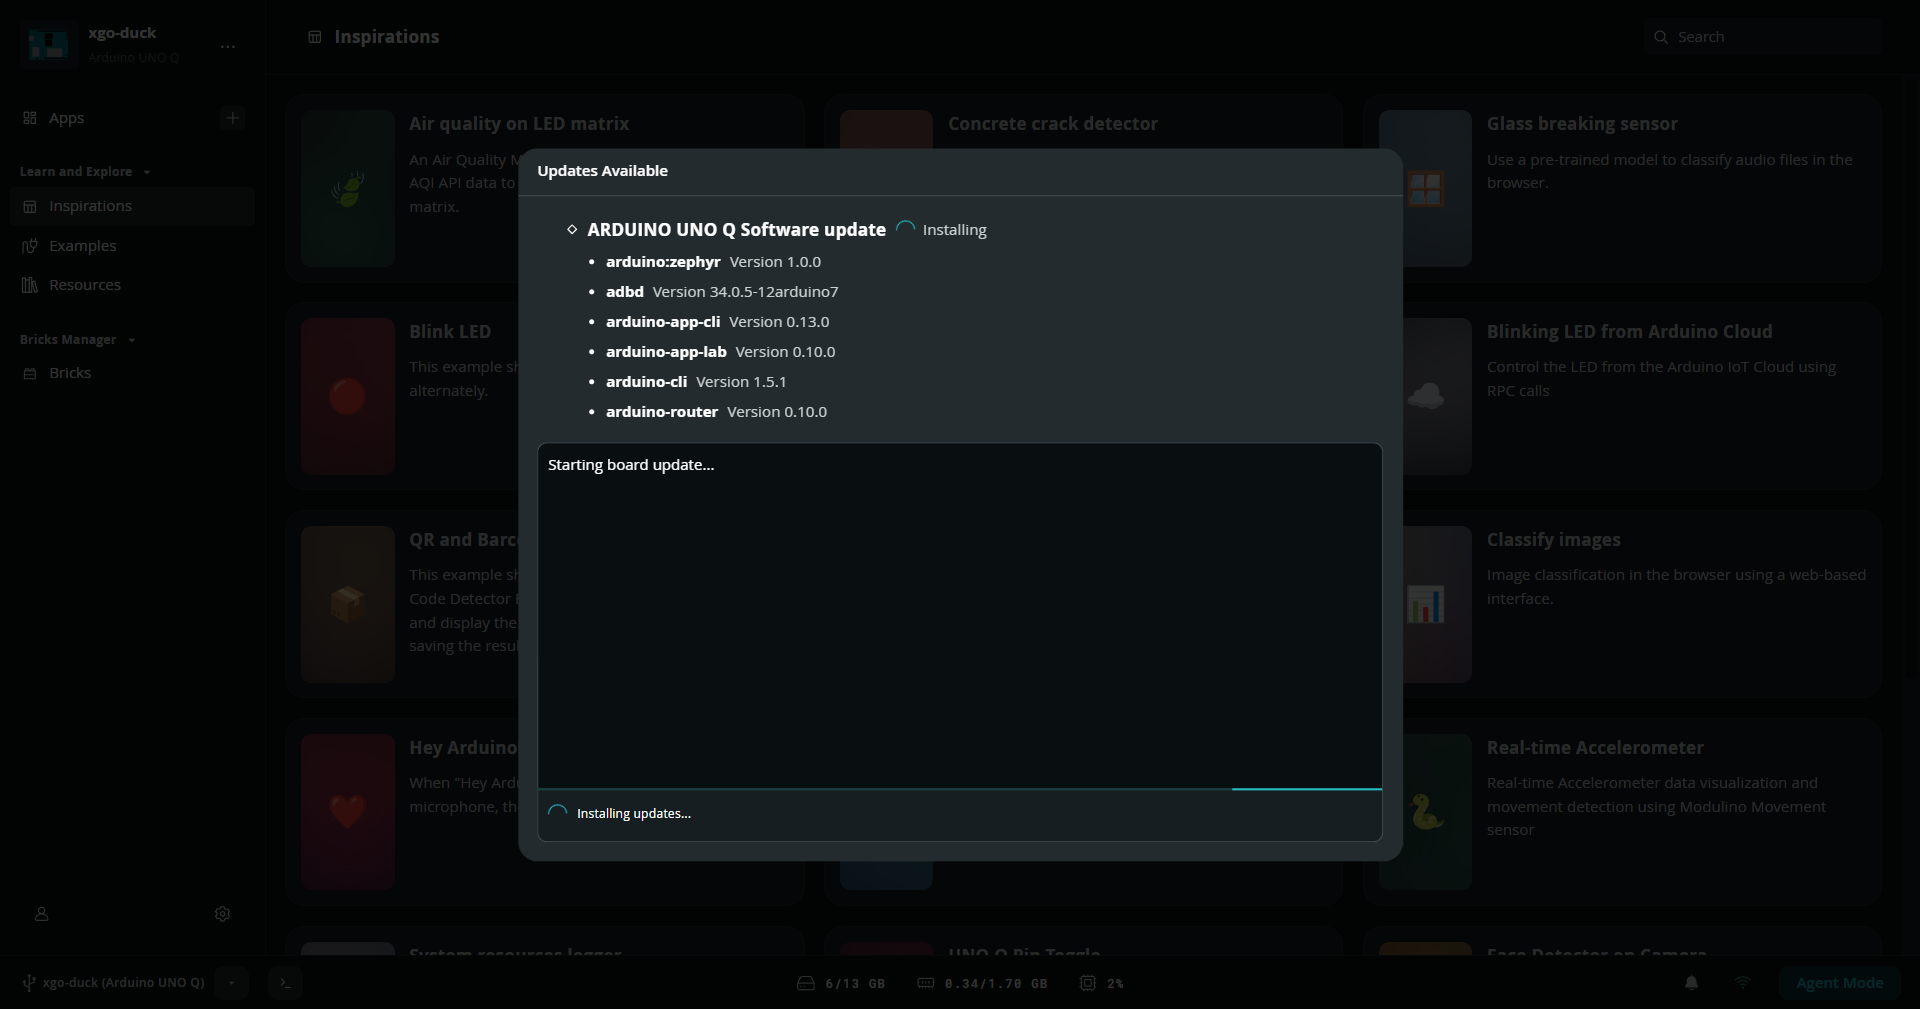
If updates are available, choose Install updates. Keep the USB cable connected and wait through Installing updates.
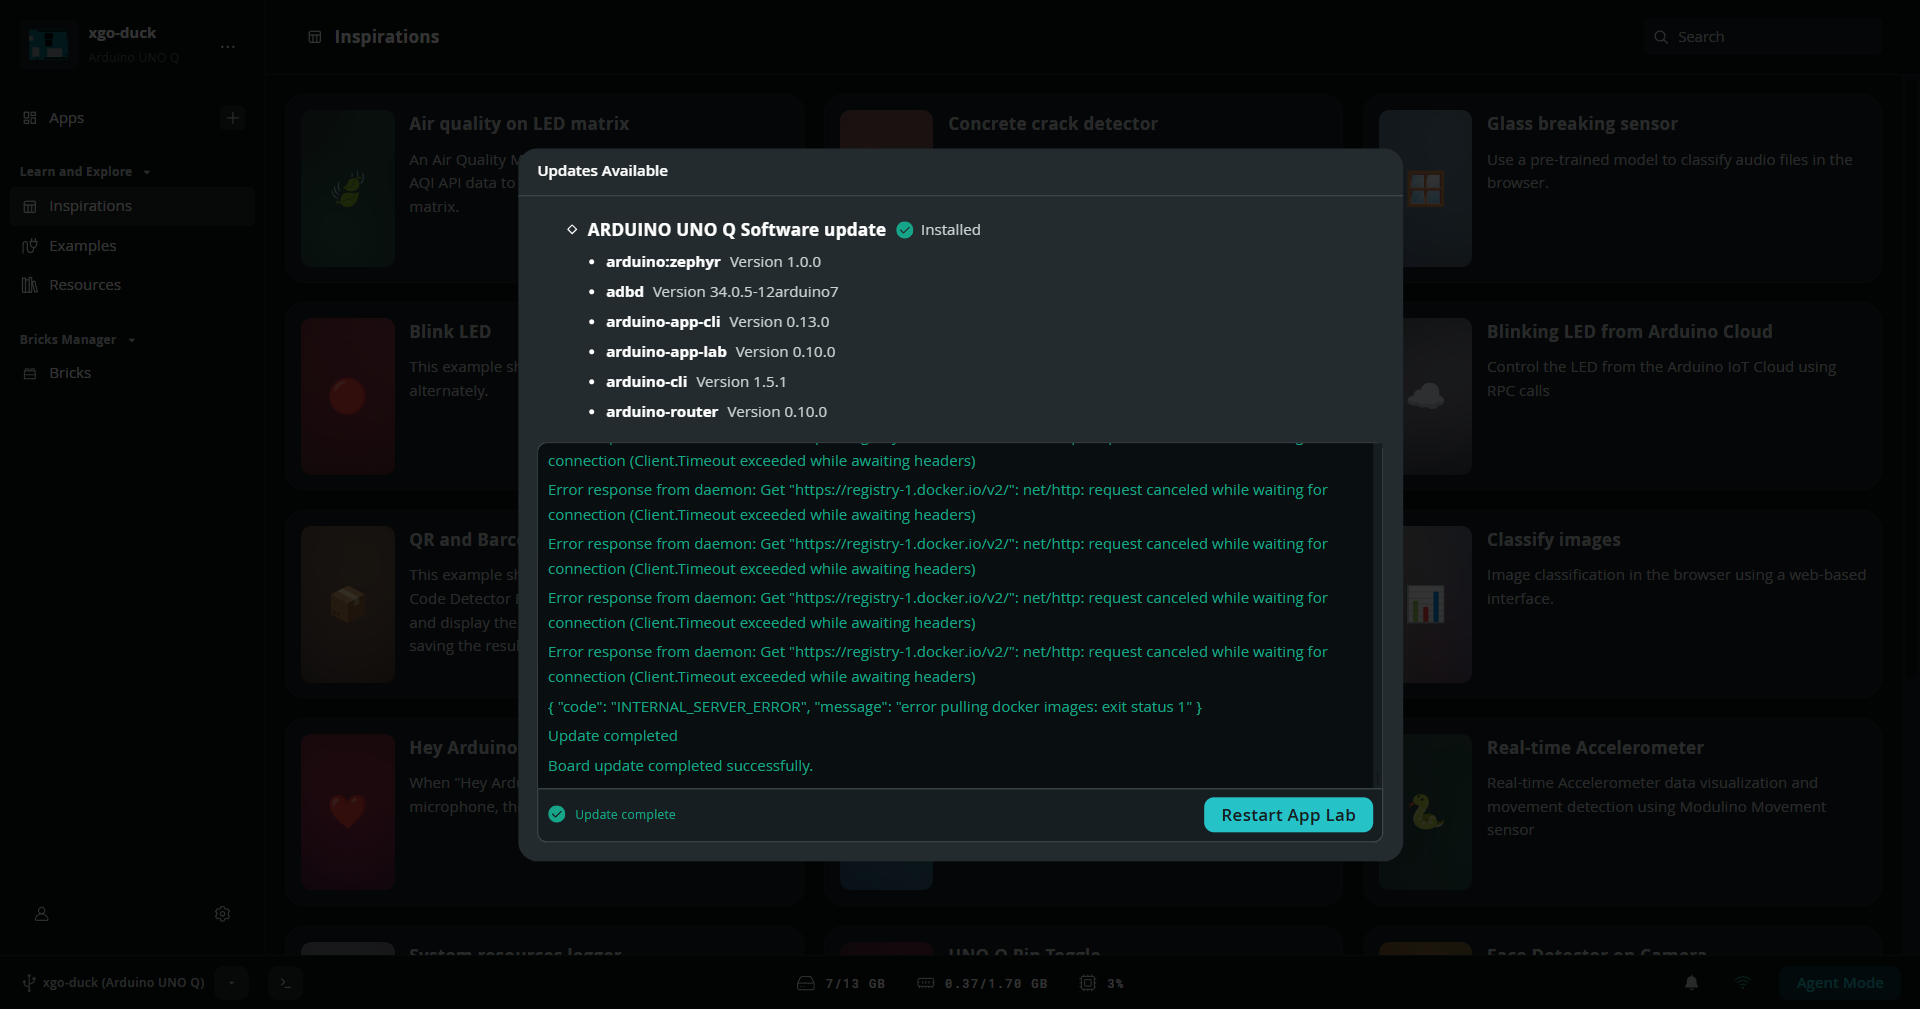
When Installed, Update complete and Restart App Lab appear, inspect the logs too. A completion banner does not mean every download succeeded.
Reconnect with the expansion board
After the update process has finished, disconnect USB and power.
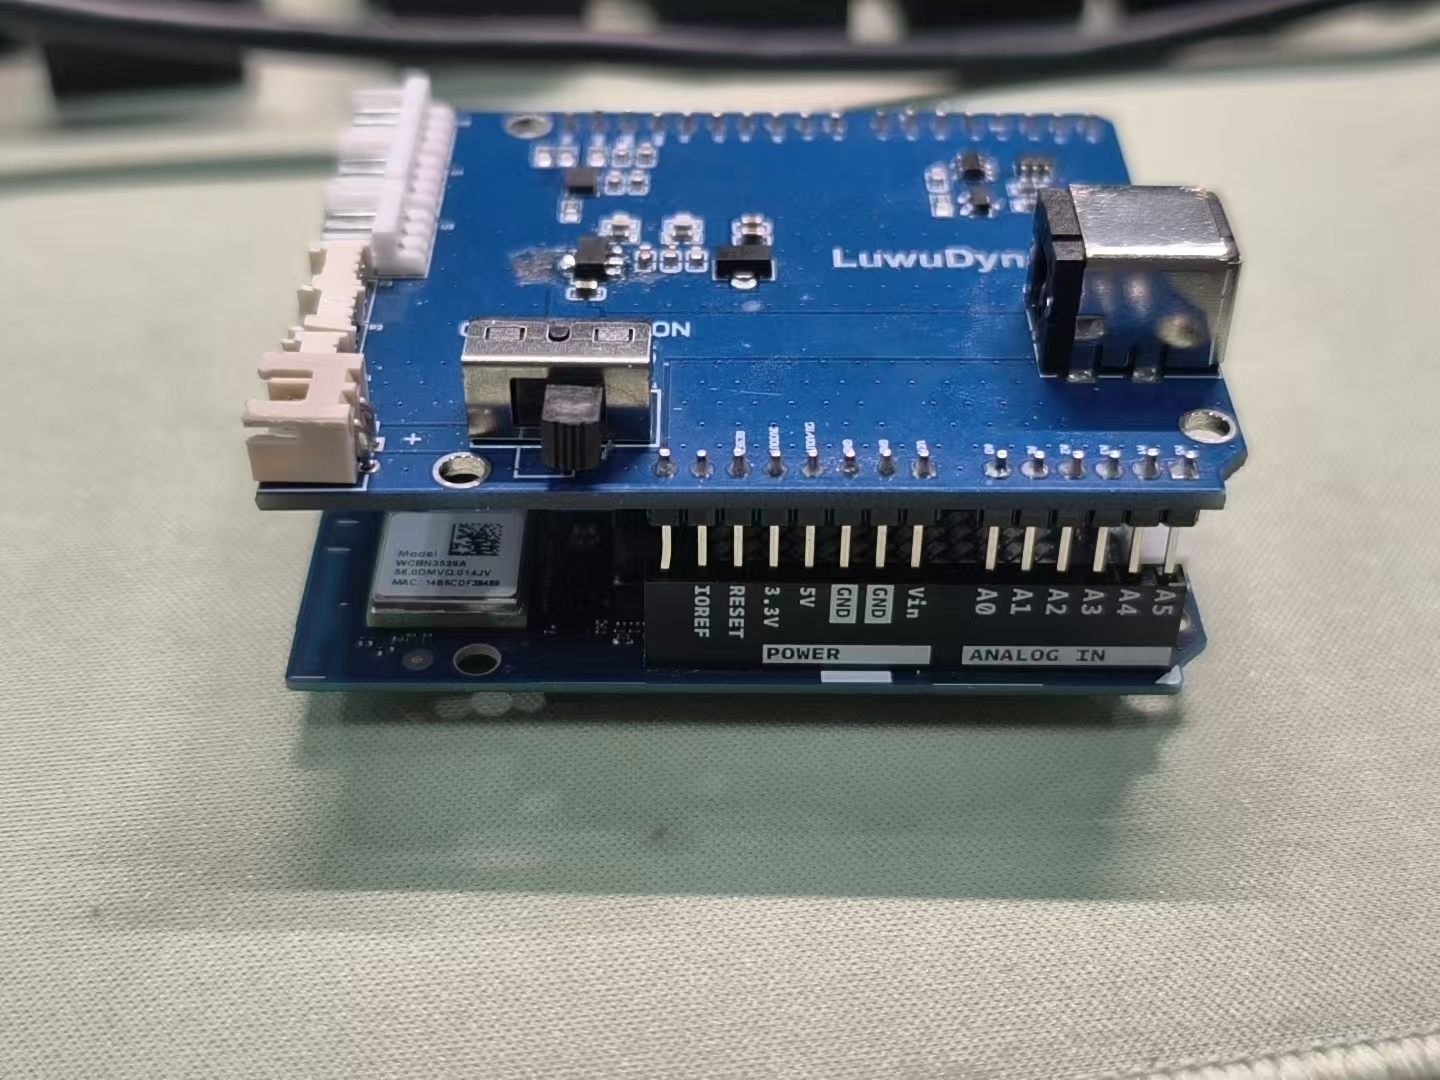
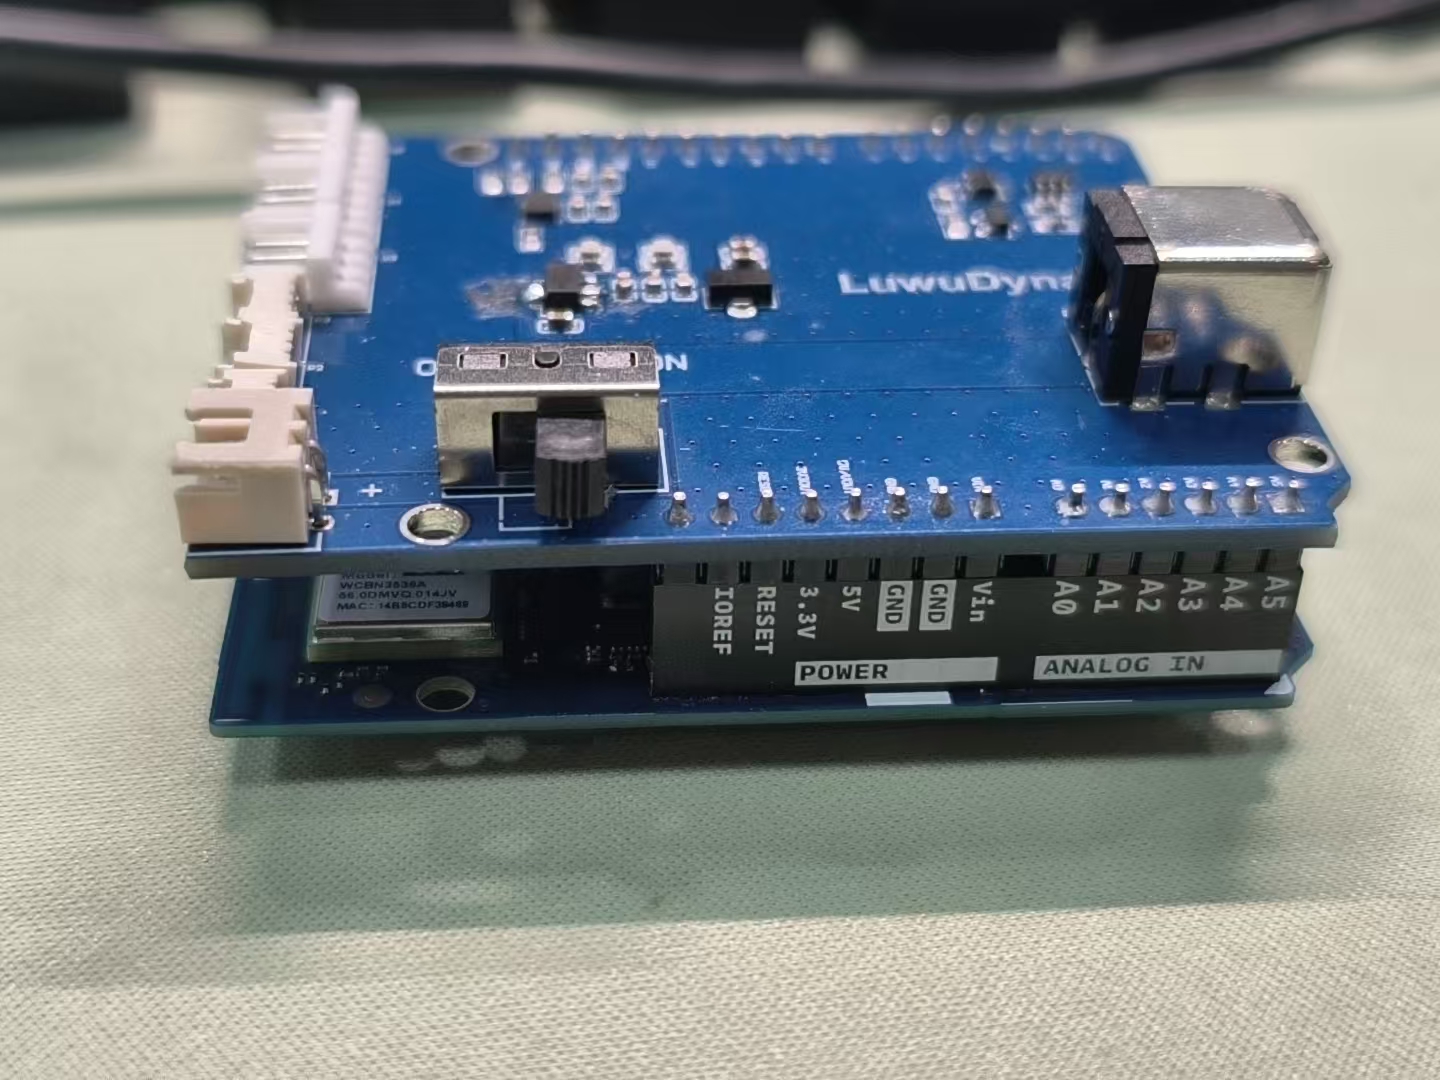
Align the expansion-board pins with the UNO Q sockets and seat the boards in the illustrated orientation.
Restart App Lab, then reconnect USB.
Reconnect to Duck in App Lab
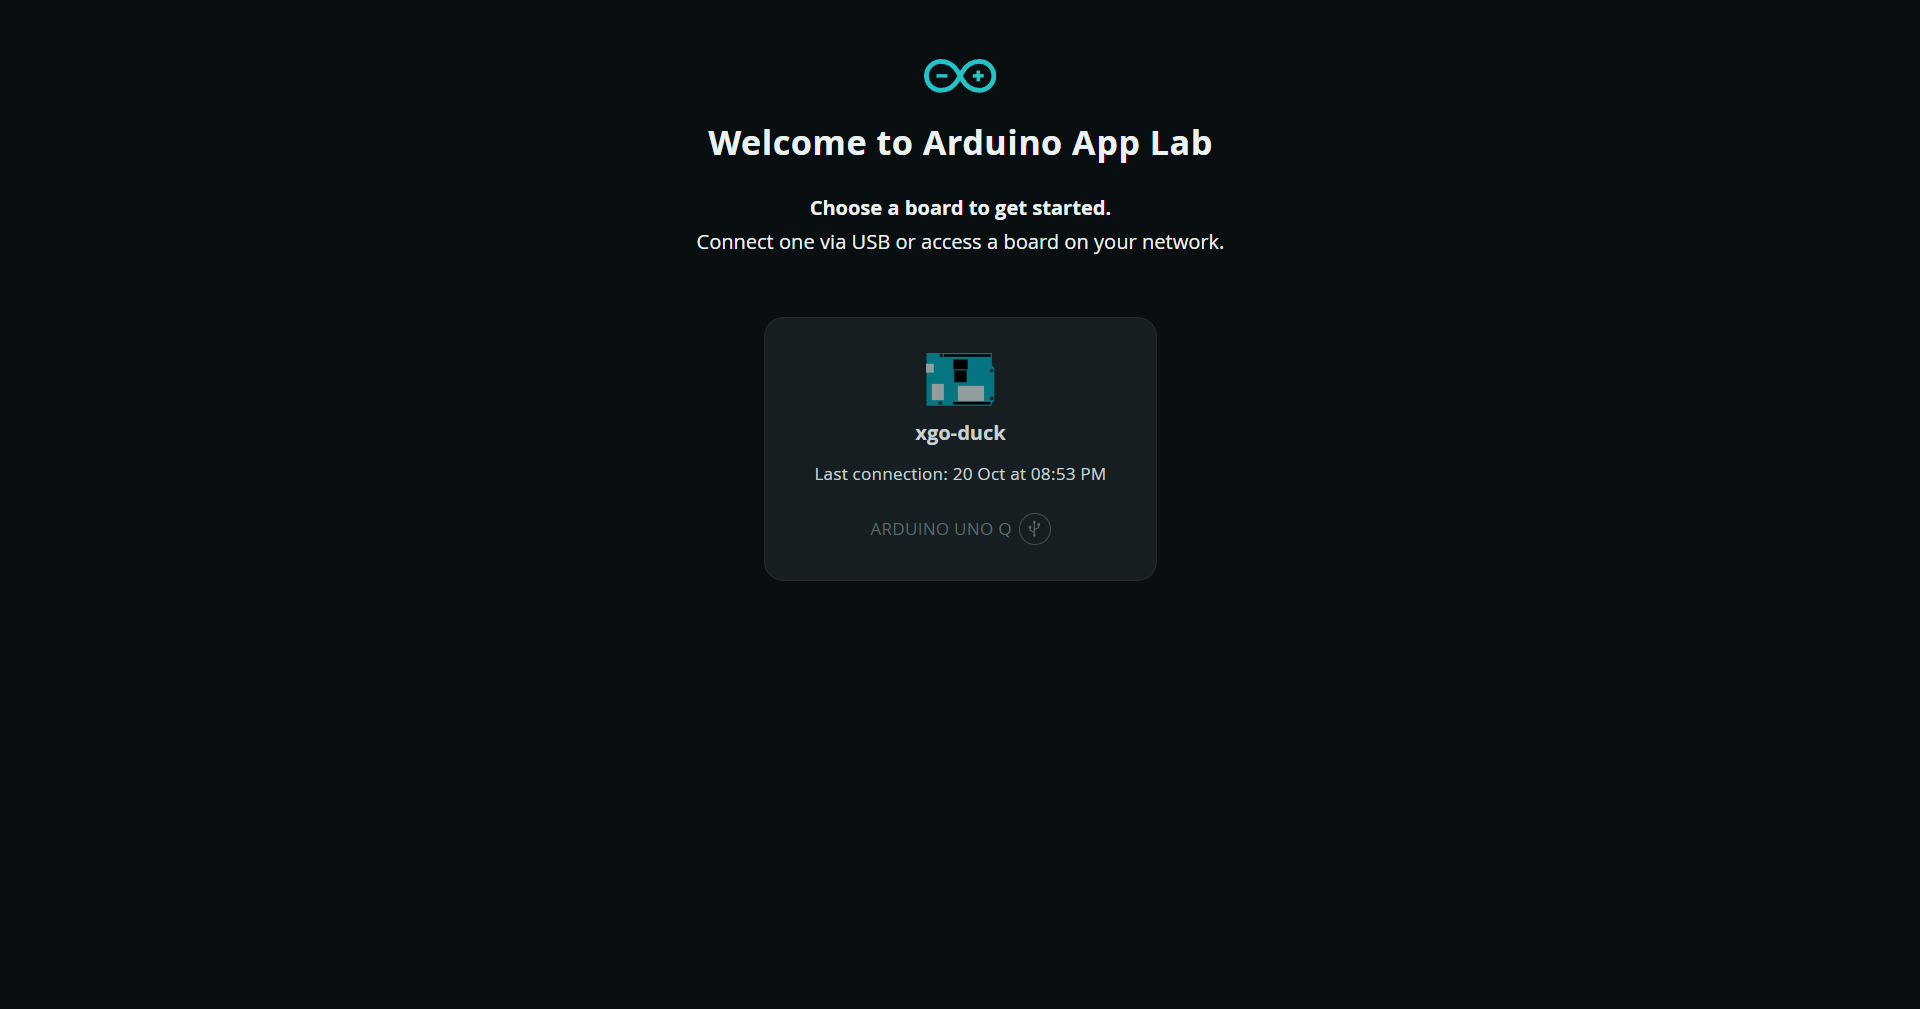
On the App Lab welcome screen, select the board name you configured, such as xgo-duck, to open the board.
Record the current IP address
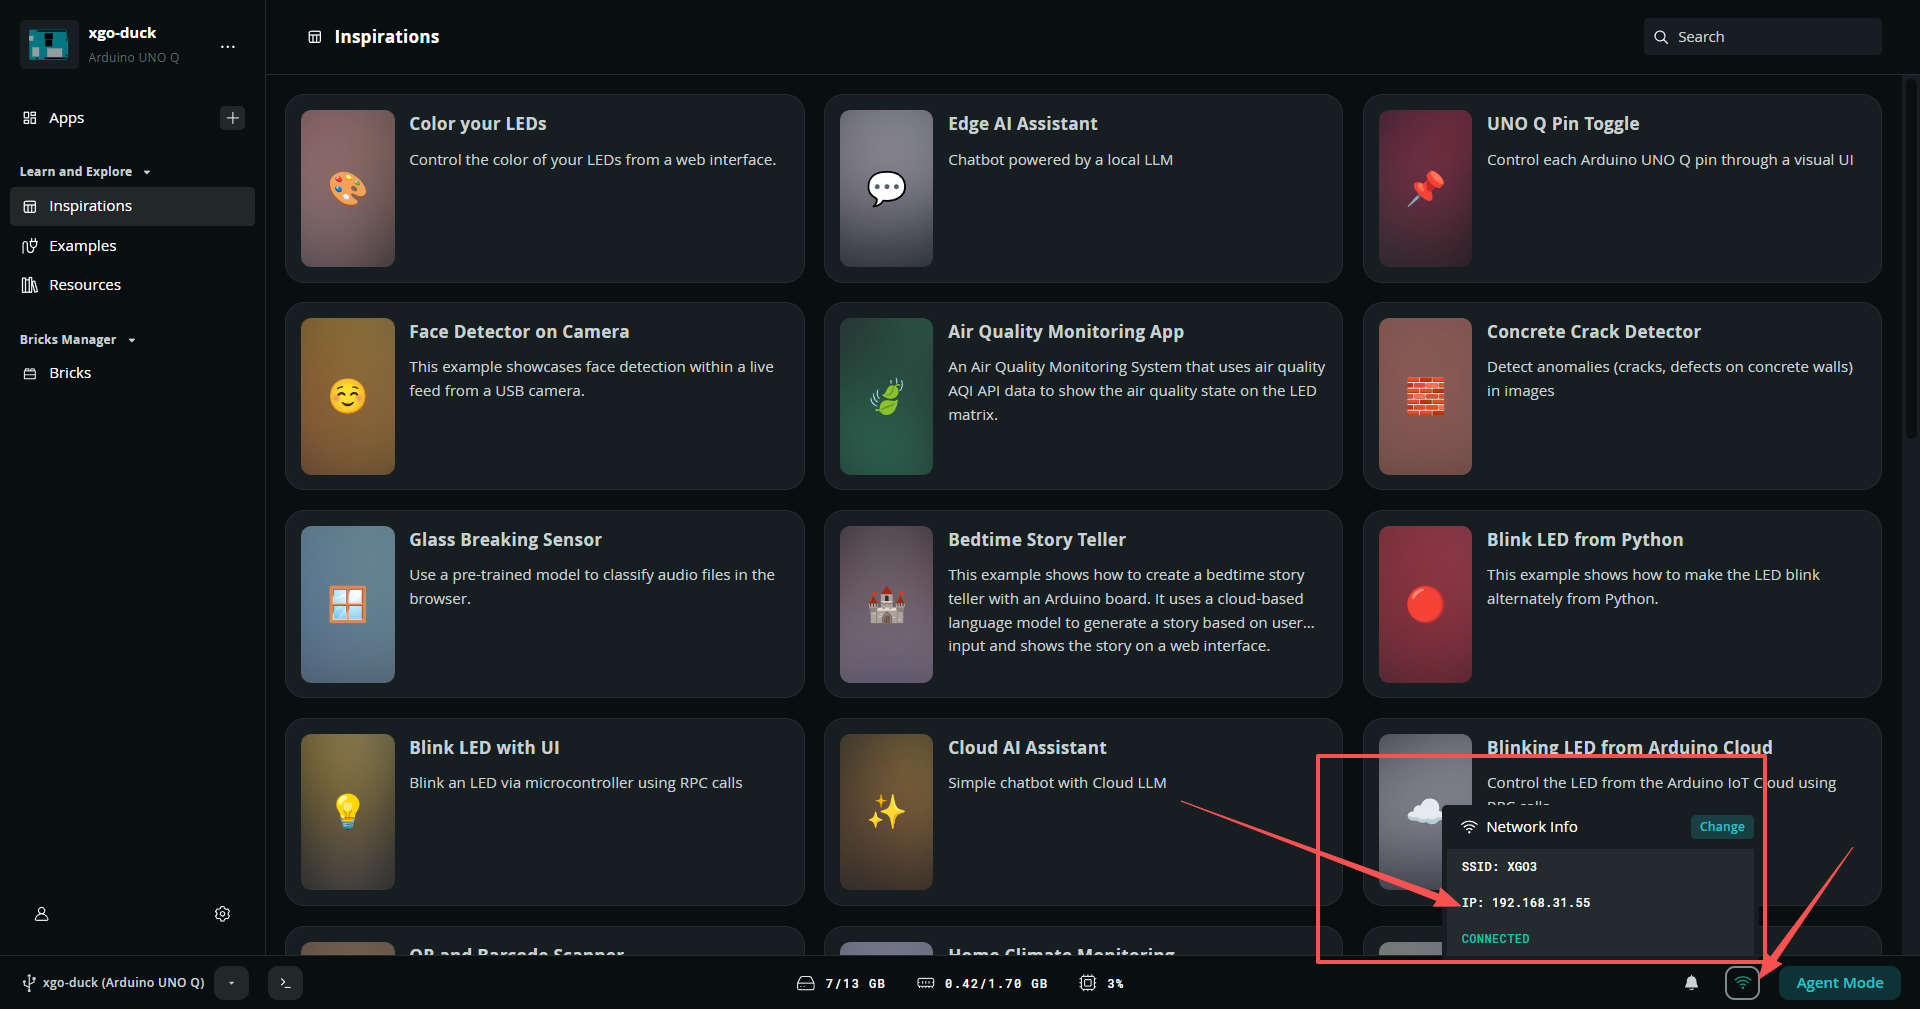
Select the Wi-Fi icon at the bottom right of App Lab and open Network Info. Check the SSID, IP and CONNECTED state. Record the IP shown by your own board; the address in the screenshot is an example.
If connection fails
Check that the USB cable supports data and the correct UNO Q is selected.
Put the computer and board on the same local network; guest-network isolation can block access.
Use the Linux password set above. Recheck Network Info after reconnecting because the IP can change.
Completion check
App Lab can connect to UNO Q through Network.
You recorded the current IP, username and Linux password.
UNO Q has internet access.