
3.1 Mobile App Control
Control the robot with the XGO mobile App. After opening the App, the home screen offers two control modes: Bluetooth Control (no network needed, connects right after boot) and WIFI Video Streaming (requires the robot to be online, with a live camera view).

Download & Install:
Platform | How to get it |
|---|---|
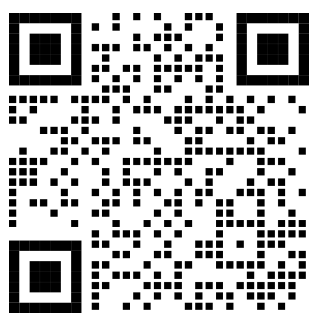
Android | Search "XGO" on Google Play, or go to the robot's "Settings" → "App Download" and scan the QR code to download the APK |
iOS | Search "XGO" on the App Store and install |
Bluetooth connection steps:
Power on the robot and make sure the battery is sufficiently charged
Enable Bluetooth and Location Services on your phone (on Android, grant the App location permission in system settings, otherwise no devices will be found)
Open the XGO App and choose "Bluetooth Control" on the home screen
The App automatically searches for nearby robots; results appear in the Bluetooth device list (device names start with XGO; the number on the right is the signal strength — the closer to 0, the better)

Tap your device name to connect; on success you enter the main control interface
Twin joysticks and control buttons appear on the main interface — connection successful

💡 Troubleshooting checklist when the connection fails:
Make sure Bluetooth is enabled on your phone
Make sure location permission is granted (the most common cause on Android)
Make sure the robot is within 10 meters of your phone
Try closing and reopening the App
Make sure no other phone is already connected to this robot
App control features:
Feature | How to operate | Notes |
|---|---|---|
Joystick locomotion | Left stick for forward/backward/side movement, right stick for turning | Forward, backward, left turn, right turn — supported on all models |
Action buttons | Tap the bottom buttons such as "Performance Mode", "Lie Down", "Stand Up" | Trigger built-in actions with one tap |
Arm control | Switch to the "Arm Control" tab at the top | Control gripper open/close and arm joint angles (models with an arm only) |
Posture adjustment | Available after enabling Pro mode | Fine-tune pitch, yaw and roll angles |
Motion Control interface: the left joystick handles translational walking and the right joystick handles turning; the three shortcut icons in the middle switch the robotic arm between preset postures with one tap; common action buttons sit at the bottom. Tap the settings button to expand the settings panel and adjust the gait mode (Hybrid/Wheeled/Legged), motion speed, body height and stride.

Performance Mode: tap it at the bottom to open the full action list, including Lie Down, Stand Up, Crawl Forward, Spin Around, March in Place, Squat, Roll/Pitch/Yaw rotation, 3-Axis Motion, Pee, Sit, Wave Hand, Stretch, Wave Body, Sway, Beg, Look for Food, Handshake, Chicken Head, Push-ups, Look Around, Dance, Naughty, and more. Tap Reset to return to the default pose.

Pro Mode: tap the "Pro" button in the top-right corner to enable professional mode. Extra arc-shaped slider handles appear around the joysticks for finer adjustment of the body posture (pitch, yaw, roll).

Arm Control (models with an arm only): switch to the "Arm Control" tab at the top. Drag the three sliders — Gripper Servo, Forearm Servo, Upper-arm Servo — to control each joint angle precisely; the three icons on the right are preset arm postures; below them are "Head Down / Level / Head Up" quick-grab shortcut buttons and a "Turntable" angle slider.

⚠️ Bluetooth control does not require WiFi.
A robot can only be connected to one phone at a time — to switch devices, disconnect the current phone's Bluetooth first.
WIFI Video Streaming inside the App:
Choose "WIFI Video Streaming" on the App home screen to watch the robot's live camera view while controlling it. Two conditions must be met first:
The robot is online — if it is not connected to a network yet, complete the setup in "Chapter 2: Network Connection"
The robot is running RC Mode — launched from "Sample Programs"; see section 3.2 below for the steps
The App then shows the Device Selection page and automatically scans for robots on the same network. If no device is found, troubleshoot as follows:
Power on the robot and start RC Mode (see section 3.2), wait a few seconds, then tap the refresh button in the top-right corner to scan for devices
If the device is not online, tap the network configuration button in the top-right corner to set up WIFI for it (see "Chapter 2: Network Connection" for the setup steps)
After a successful configuration and reboot, start RC Mode again
Tap the refresh button in the top-right corner and the robot will appear
💡 You can also tap "Specify IP" in the top-right corner and enter the robot's IP address to connect directly.

Once connected, you enter the WIFI Video Streaming Control interface:
Center: live camera video feed
Left: directional joystick, with a "Hybrid / Wheeled / Legged" locomotion mode switch below (wheeled-legged models)
Right: preset arm posture buttons and a "Height" slider (shown as a percentage)
Bottom: shortcut action buttons such as Performance Mode, Lie Down, Stand Up
Top right: Reset button and "Balance Mode" toggle; a green dot indicates a healthy connection

The full Performance Mode action list is also available in WIFI video streaming mode:

Basic Settings & Servo Calibration:
On the start screen, tap the settings button  in the top-right corner to open Basic Settings, where you can switch the interface language (Follow System / Chinese / English) and enable developer options (run this project as a developer).

If you notice the robot's posture is abnormal — for example, when standing, one leg deviates so much that the four legs cannot touch the ground at the same time — the initial position has most likely drifted from the preset values because of loose screws or servo gear slipping. In this case, calibrate the initial position to re-align the robot's initial position presets.
Open the XGO App, tap the  button to run as a developer, then return to the Bluetooth Control page. After connecting to the robot over Bluetooth, tap
  to enter the calibration page, then tap "Enter Calibration Mode" — the servos stop outputting torque and you can rotate all the joints by hand.

Place the robot in the posture shown below
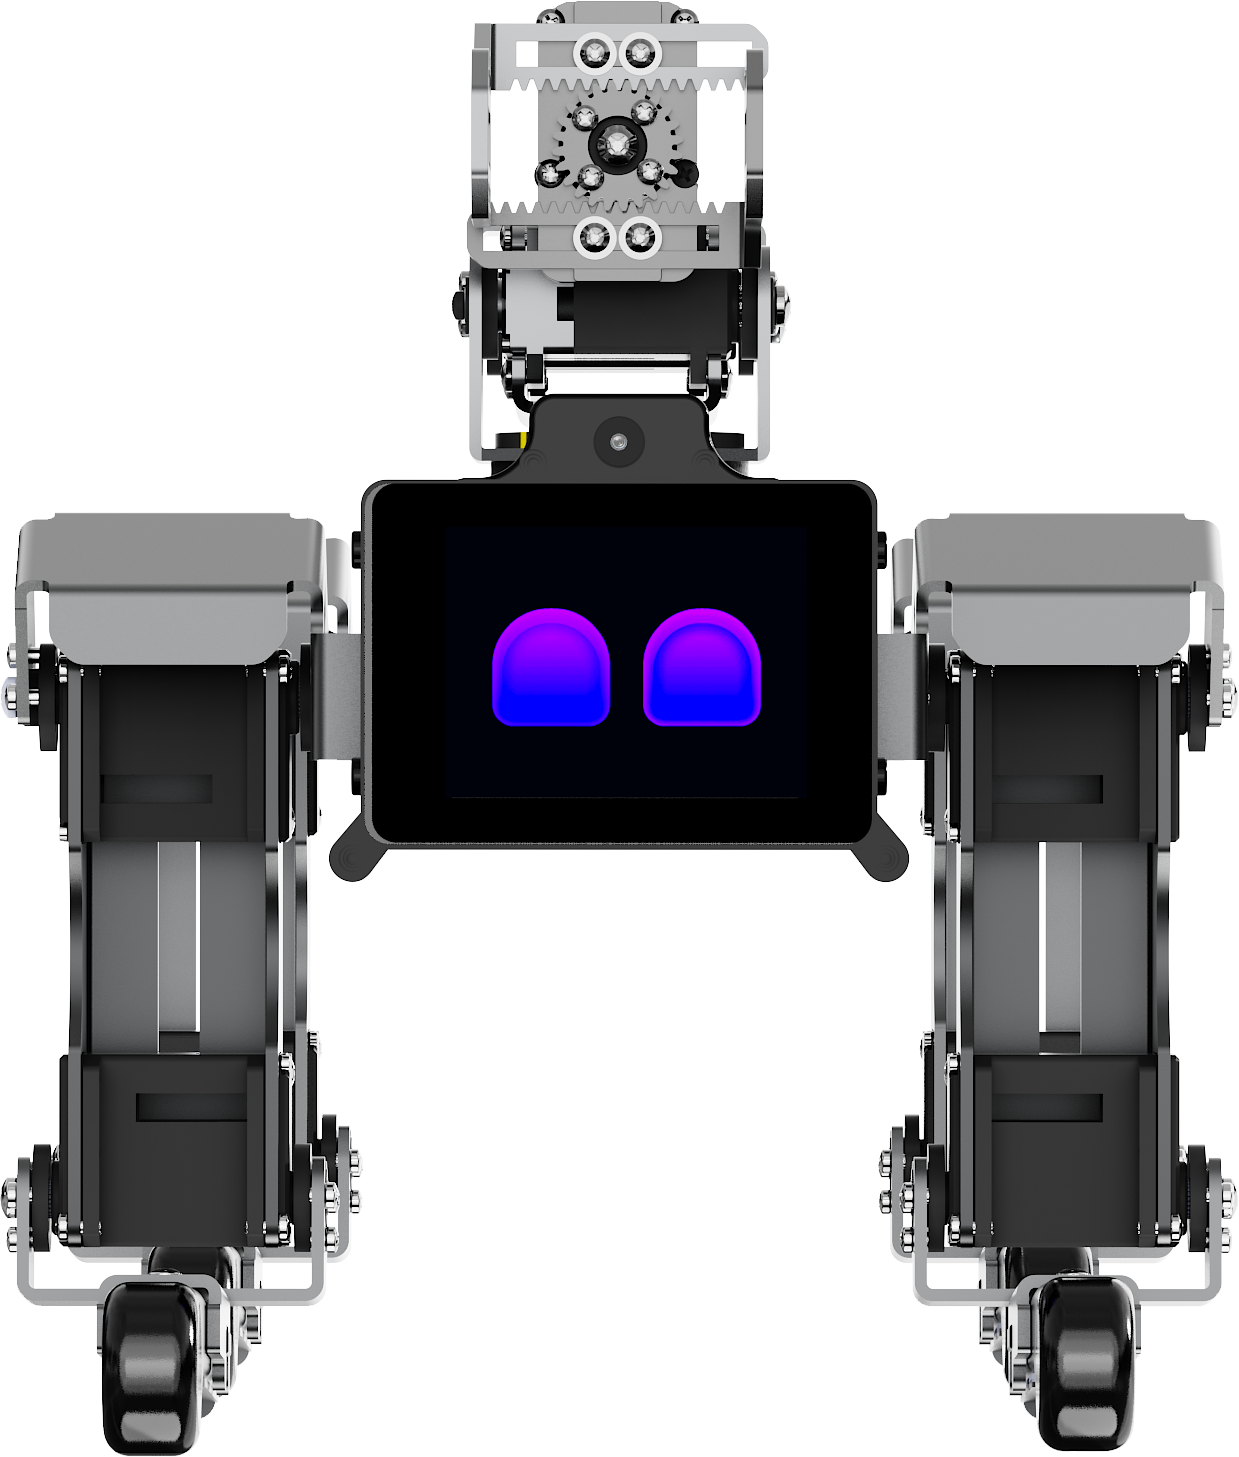
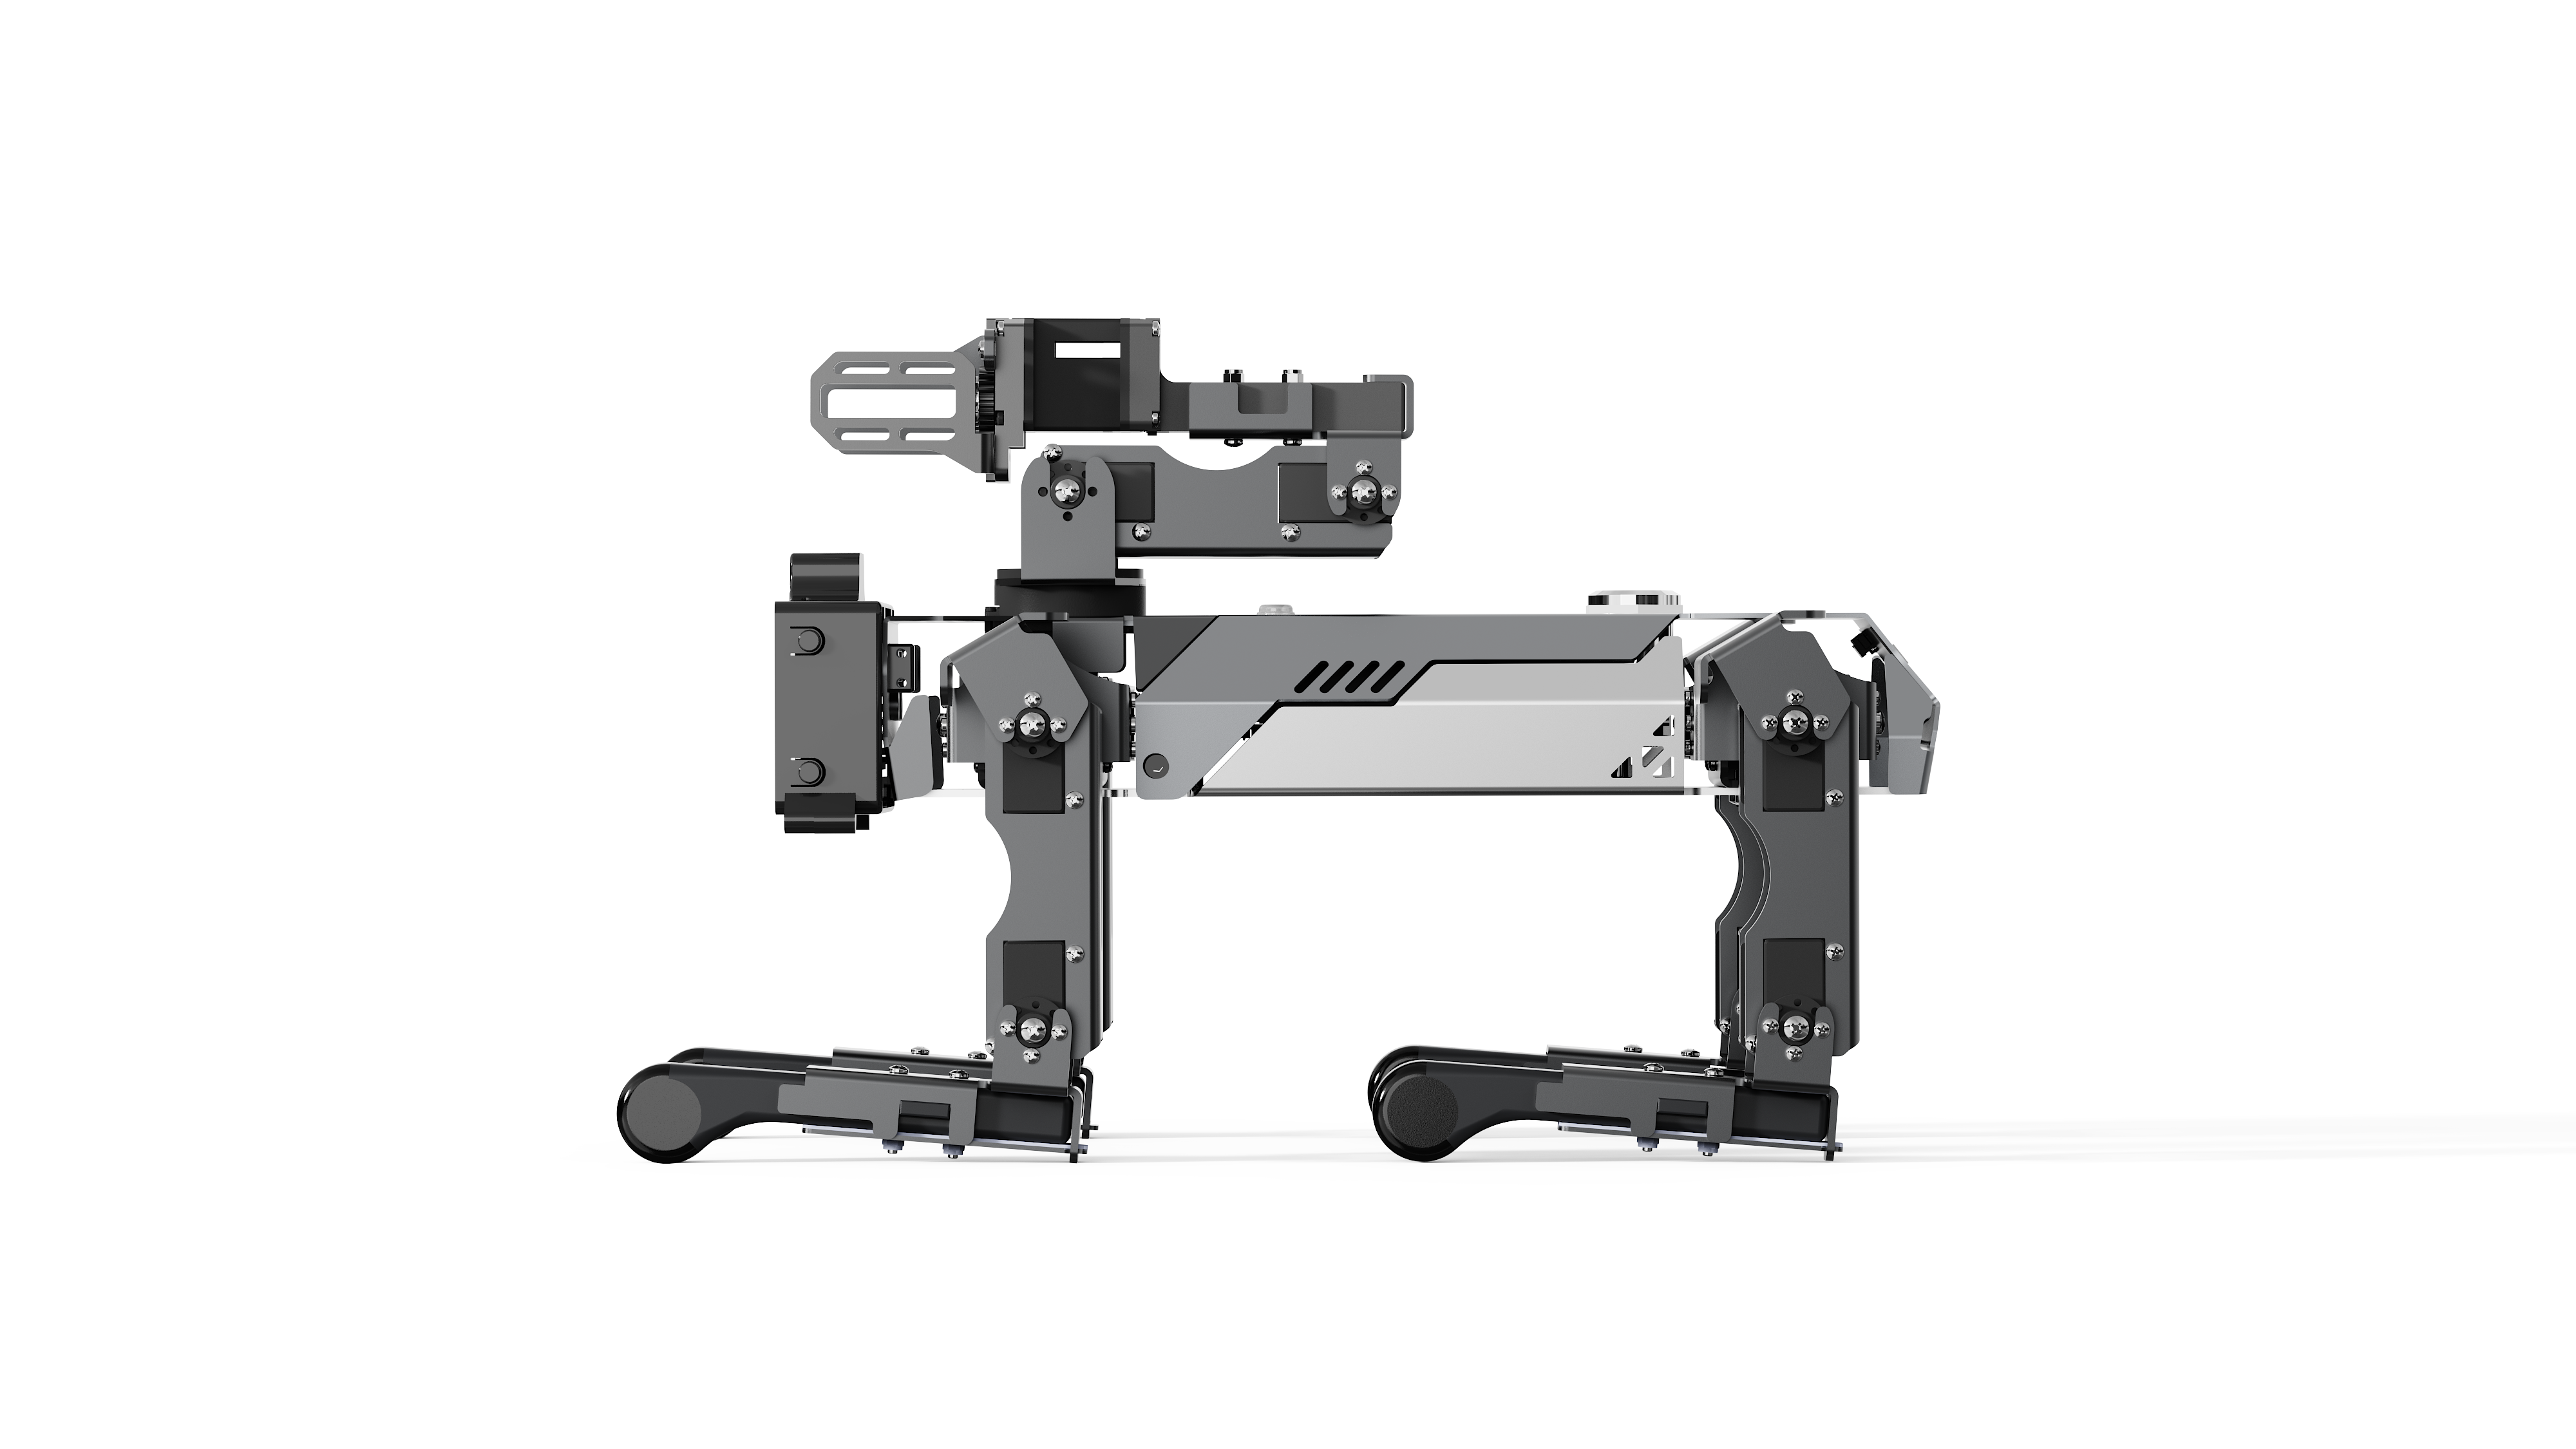
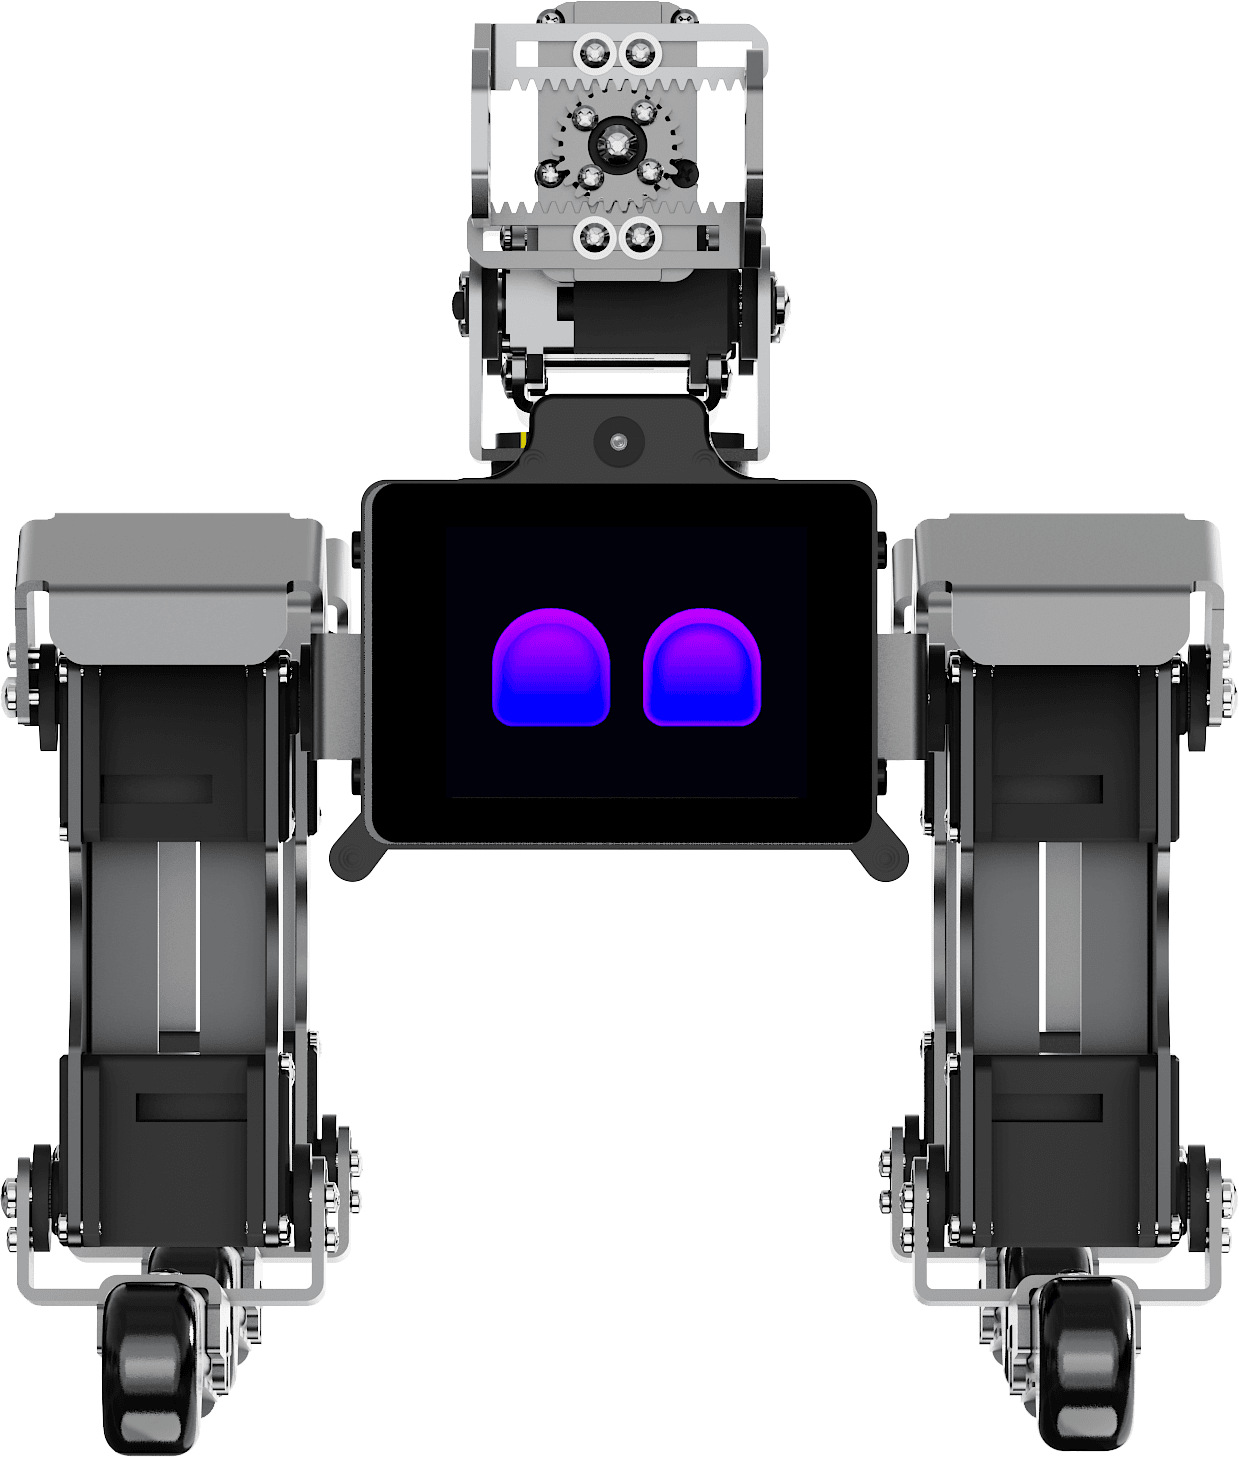
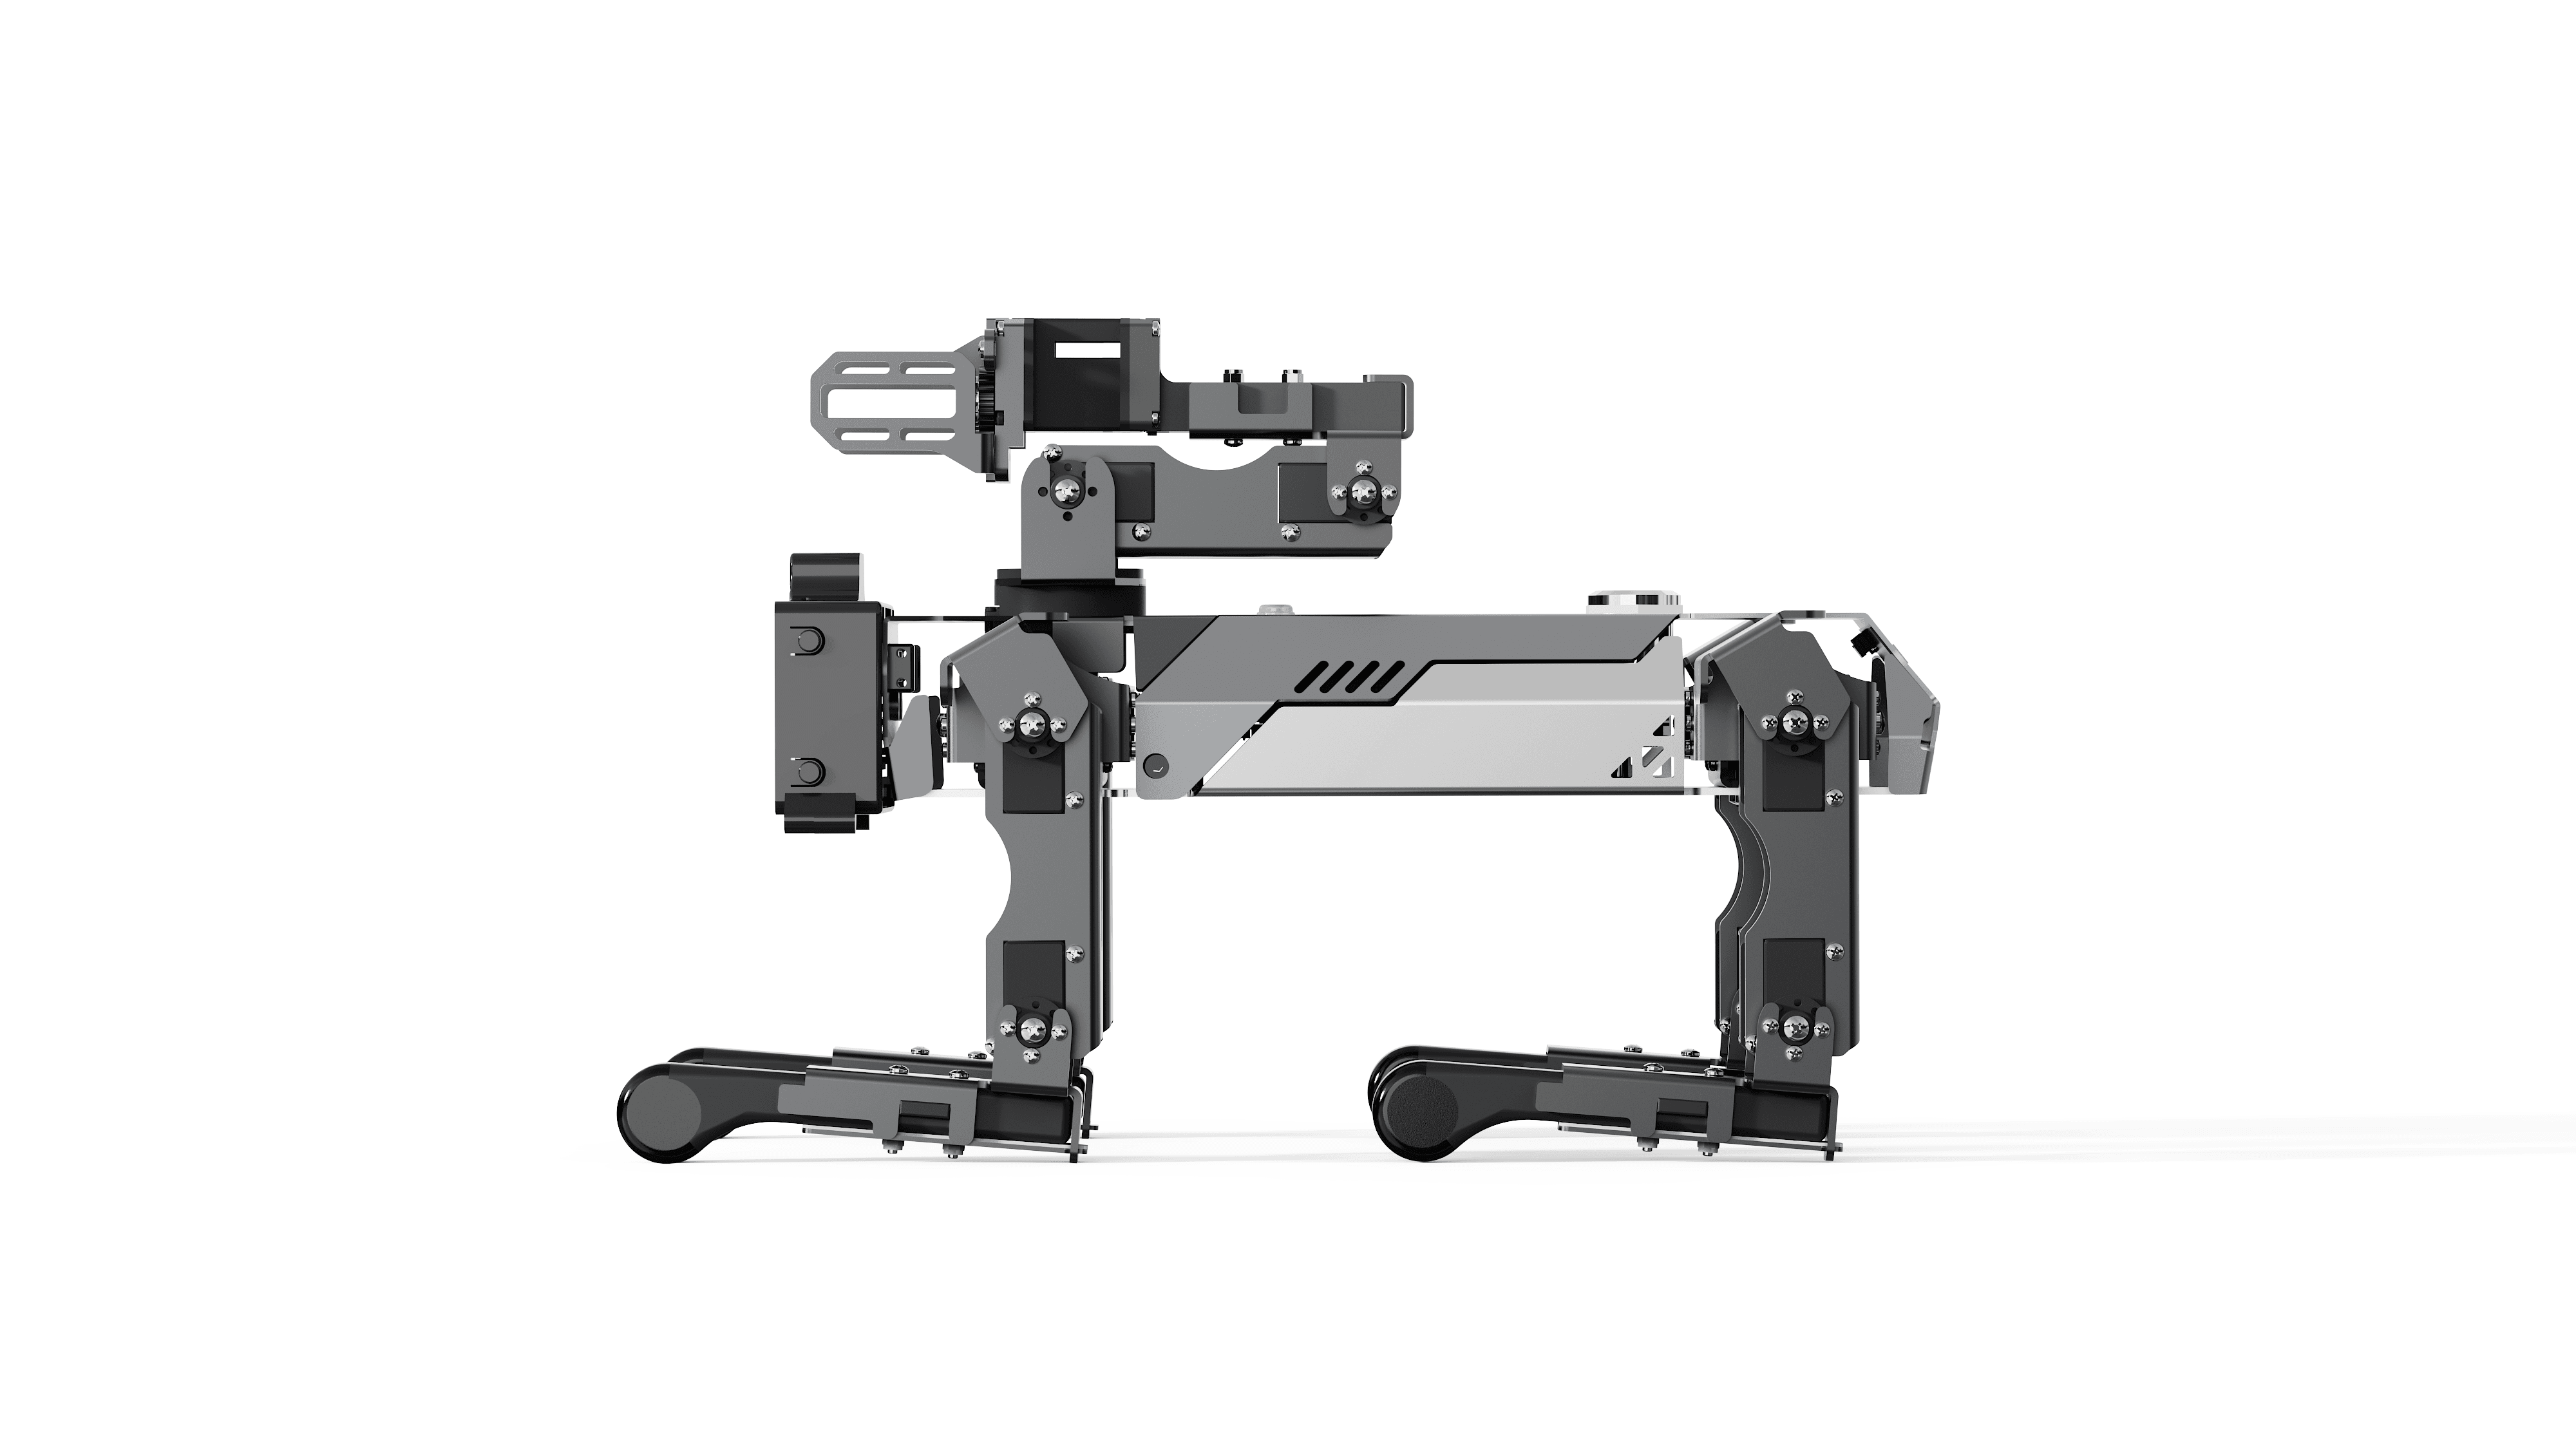
Note: make each leg's shoulder perpendicular to the body, the thigh perpendicular to the ground, and the lower leg perpendicular to the thigh — how squarely the legs are placed directly affects the robot's working posture. Once positioned properly, tap the "Finish Calibration" button on the calibration page; after 10 seconds the robot returns to a standing posture. If the standing posture is still severely off and you are sure the procedure was performed correctly, the robot may be faulty — please contact after-sales service.
⚠️ Note: this operation is irreversible and will overwrite the factory calibration data. Follow the instructions strictly.
3.2 RC Mode
Watch the robot's live camera view and control it from a browser — both computer and phone browsers work. The robot must be connected to WiFi first.
Make sure the robot is connected to WiFi (see "Chapter 2: Network Connection")
RC Mode lives in the sample programs: flip the cards to "Sample Programs" and press D to enter
Find "RC Mode" in the sample program list and press D to launch it
The screen shows the access URL (in the form
http://192.168.x.x:8080) and waits for a connection
(Make sure the colon is the ASCII character :, not a full-width one)

Open that address in a browser (Chrome recommended) on a computer or phone on the same network
The loaded page is the control interface:
Center: live camera video feed
Bottom left: virtual joystick and the "Action" button
Bottom: shortcut action buttons such as Perform, UpDown, WaveHand, PushUp, plus the "Height" slider
Top: Reset button, the "Hybrid / Wheeled / Legged" locomotion mode switch (wheeled-legged models) and the "Balance" toggle

Operate the virtual joystick to control the robot
Supported operations: forward, backward, left turn, right turn, height up/down, posture adjustment, and triggering preset actions.
⚠️ The page disconnects automatically after 5 minutes of inactivity. Press C on the robot to exit RC Mode.
3.3 Gamepad Control
Both USB wireless gamepads and Bluetooth gamepads are supported.
USB wireless gamepad:
First plug the gamepad's USB wireless receiver into the USB port on the robot's head
Then enter "Sample Programs" (flip the cards and press D), find "Gamepad Control" in the list and press D to launch it
The system detects the USB gamepad automatically, goes straight into the control interface, and the gamepad is ready to use
Bluetooth gamepad:
Power on the gamepad and make sure its pairing button lights up blue
Enter "Sample Programs" → "Gamepad Control" — if no USB gamepad is detected, the screen shows "Bluetooth Control" and automatically starts scanning for Bluetooth gamepads
Press the blue pairing button on the gamepad and wait for pairing
Once paired, the screen shows the connected gamepad's name and you enter the control interface (if not found, press D to rescan)

Key mapping: the actions bound to the gamepad buttons are not fixed. After entering gamepad mode, press the A key (top left) to open "Key Map". There are two ways to open the configuration page:
Scan the QR code on the robot's screen with your phone
Visit the URL shown on the screen in a browser — the robot's IP address followed by
:8088, e.g.http://192.168.31.81:8088(make sure the colon is the ASCII character:, not a full-width one)
There you can view and change the action bound to each button (e.g. A = Lie Down, LB = imu_on) and configure them per device type.


💡 A Bluetooth gamepad may need calibration on first use. If buttons do not respond correctly, check their bound actions in the key mapping page.